I’ve spent twenty years in commercial kitchens and high-pressure catering environments, and if there’s one thing I’ve learned, it’s that a shiny, twenty-piece box sitting on a department store shelf is usually a lie. Most people think they’re finding incredible cookware set value when they buy those massive, colorful collections, but they’re actually just paying for three useful pans and seventeen pieces of disposable junk that will peel or warp before the year is out. I’ve seen it a thousand times: people spend a fortune on a “complete” set only to realize they can’t actually sear a steak or simmer a sauce without something sticking or breaking.
I’m not here to sell you on a lifestyle or a fancy brand name; I’m here to tell you how to build a kitchen that actually works. I’m going to show you how to cut through the marketing noise and identify what truly constitutes real value in a kitchen. We’re going to focus on durability, material integrity, and utility—the things that matter when the heat is on. By the time we’re done, you’ll know exactly how to invest in tools that will last you a lifetime rather than cluttering your cabinets with expensive trash.
The Trap of Cheap Sets a Cost Per Piece Analysis
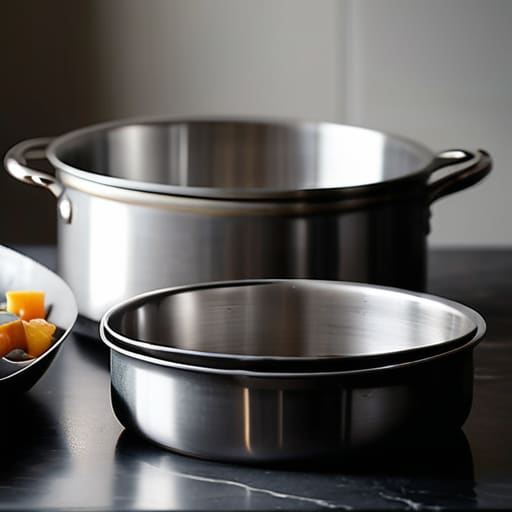
When you’re browsing online, it’s easy to get seduced by those massive 15-piece sets that promise everything you’ll ever need for under a hundred bucks. They look like a steal, but that’s where the math starts to fail you. If you perform a quick cost per piece analysis, you’ll realize you aren’t actually buying quality; you’re buying volume. Most of those extra pieces are filler—tiny saucepans you’ll use once a year or flimsy lids that don’t even fit right. You end up paying for a dozen mediocre items when you really only needed three or four solid ones.
In my years managing commercial kitchens, I learned that a durable kitchenware investment isn’t about how much stuff you have in the cabinet, but how much work each piece can actually handle. When you compare a cookware set vs individual pans, the individual route almost always wins for long-term value. Instead of a mountain of cheap, non-stick coating that will flake off by next Christmas, I’d rather see you build an essential kitchen pan collection one piece at a time. Buy one heavy-duty skillet today, and a reliable Dutch oven next month. It takes longer, but your wallet—and your dinner—will thank you.
Building a Durable Kitchenware Investment That Actually Lasts
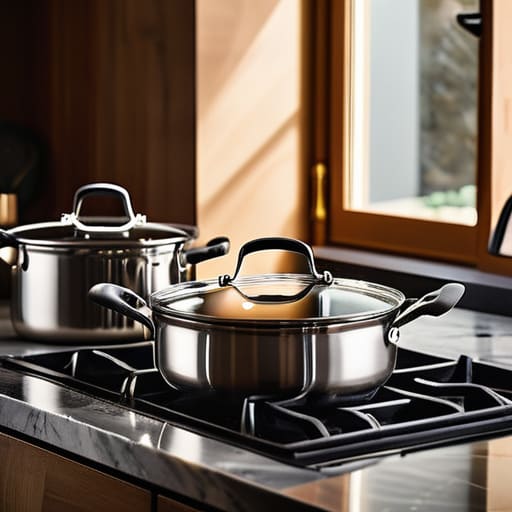
If you want to stop the cycle of replacing scratched pans every two years, you need to stop thinking about “sets” and start thinking about a durable kitchenware investment. In my years managing commercial kitchens, I saw how quickly a massive 20-piece set becomes a graveyard of useless gadgets. Most people don’t need a tiny butter warmer or a specialized egg poacher; they need a few heavy-duty workhorses. Instead of chasing a high piece count, I recommend focusing on an essential kitchen pan collection that covers your actual cooking needs: a high-quality stainless steel skillet, a heavy Dutch oven, and a reliable cast iron piece.
When you weigh a cookware set vs individual pans, the math almost always favors the latter if you’re looking for longevity. It might feel more expensive upfront to buy three stellar pieces than one mediocre set, but you’re paying for materials like tri-ply stainless steel or seasoned iron rather than cheap coatings. My advice? Stick to a basic kitchen essentials checklist and buy one great tool at a time. You’ll end up with a kitchen that actually works for you, rather than a cupboard full of plastic junk.
How to Spot Real Value Before You Open Your Wallet
- Stop looking at the number of pieces in a box. I’ve seen “20-piece sets” that include three flimsy spatula sets and a tiny saucepot no one ever uses. Real value isn’t about quantity; it’s about having five heavy-duty pieces that actually do the work.
- Prioritize material over marketing. A flashy box won’t help you when a non-stick coating starts flaking off after six months. Look for tri-ply stainless steel or heavy-gauge cast iron—things that can handle high heat and won’t end up in a landfill by next year.
- Check the weight, not the price tag. If a pan feels light and hollow in your hand, it’s going to have hot spots and cook your food unevenly. A piece with some heft tells me it has the thermal mass to actually hold a steady temperature.
- Buy for versatility, not specialty. You don’t need a dedicated “omelet pan” or a “pasta pot” that takes up half your cabinet. Invest in a solid 12-inch skillet and a high-quality Dutch oven; those two can handle 90% of what you’ll ever need to cook.
- Think about the “repairability” factor. A cheap set is a disposable set. When one pan fails, the whole set is garbage. When you buy high-quality individual pieces or modular sets, you can replace one item without throwing away your entire kitchen investment.
My Golden Rules for Not Wasting Your Money
Stop looking at the total number of pieces in a set; a 15-piece kit of flimsy, non-stick pans is worth far less than three high-quality, heavy-duty pans you’ll actually use every day.
Prioritize material integrity over convenience by investing in stainless steel, cast iron, or carbon steel—tools that can handle high heat and won’t end up in a landfill when a coating starts to peel.
Buy for the long haul by choosing modular pieces rather than pre-packaged bundles, so you can replace a single worn-out pan instead of tossing an entire set just because one part failed.
Making the Smart Call
At the end of the day, finding true value in a cookware set isn’t about finding the lowest price tag on a website; it’s about understanding what you’re actually paying for. We’ve looked at how those cheap, twenty-piece sets are usually just a collection of thin, disposable pans that will end up in a landfill by next year. Instead, I want you to focus on the long-term utility of your tools. Whether you decide to buy a high-quality stainless steel set or piece together a collection of heavy-duty cast iron and copper, remember that a smaller number of professional-grade pieces will always outperform a mountain of mediocre gadgets.
My advice is simple: stop shopping for “stuff” and start shopping for functionality. A kitchen isn’t a showroom, and you don’t need every trendy gadget to be a great cook. When you invest in tools that are built to endure, you aren’t just buying pans; you are building a foundation for a lifetime of shared meals and reliable cooking. Do the work now to get it right, and your future self—and your wallet—will thank you every single time you turn on the stove.
Frequently Asked Questions
Is it actually cheaper in the long run to buy individual pieces rather than a pre-packaged set?
Look, if you’re asking me, the answer is almost always yes. Pre-packaged sets are designed for convenience, not value. They force you to pay for three oversized pans you’ll never use just to get that one decent skillet. When you buy individual pieces, you’re curating a kit that actually fits your cooking habits. You spend more upfront, sure, but you aren’t paying for filler. You’re investing in quality where it actually matters.
How can I tell if a "high-end" set is actually quality craftsmanship or just expensive branding and marketing?
Look past the shiny box and the fancy logo. I always check the weight and the construction first. Pick up a pan; if it feels flimsy or hollow, it’s just marketing fluff. Check the rivets—are they heavy-duty or thin? Look for full-surface encapsulation, meaning the heat-conducting core actually reaches the edges. If they can’t tell you exactly what metal is inside or how it’s bonded, you’re paying for the name, not the craft.
Which materials should I prioritize if I want a kitchen that functions well without needing constant replacements?
If you want to stop the cycle of constant replacements, stick to the heavy hitters: stainless steel, cast iron, and enameled Dutch ovens. Stainless steel is your workhorse—it won’t react with acidic foods and can handle a lifetime of scrubbing. Cast iron is virtually indestructible if you treat it right. Avoid those cheap, thin non-stick pans; they’re glorified disposables. Invest in real materials that actually get better with age, not worse.