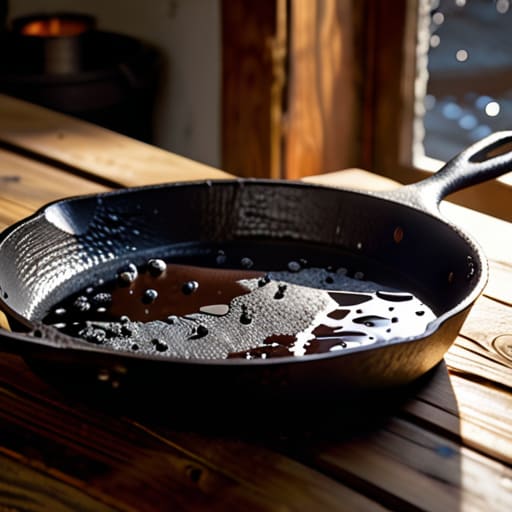
I was standing over my sink last Tuesday, staring down at a blackened Dutch oven that looked more like a piece of coal than a piece of kitchen equipment. My first instinct, after twenty years in commercial kitchens, wasn’t to panic, but to realize I’d pushed my heat a little too far during a late-night sear. Most people see a scorched bottom and immediately think they need to toss the pan or reach for those harsh, caustic chemicals that strip away everything good. But here’s the truth: cleaning burnt food off heavy cookware isn’t about brute force or expensive gadgets; it’s about understanding the material you’re working with.
I’m not going to waste your time with “life hacks” involving things you shouldn’t even have in your pantry. Instead, I’m going to show you the tried-and-true methods I’ve used to rescue everything from seasoned cast iron to heavy stainless steel. We’re going to talk about using heat, acidity, and a little bit of patience to get your tools back to their former glory. You’ll walk away knowing exactly how to handle a disaster without wasting money on replacements or ruining the seasoning you’ve worked so hard to build.
Guide Overview
Tools & Supplies
- Non-abrasive sponge for initial scrubbing
- Scraper or spatula for loosened debris
- Baking soda (1/2 cup)
- White vinegar (1 cup)
- Water (as needed)
Step-by-Step Instructions
- 1. First, let’s start with the easiest method: the boiling water soak. If the burnt bits aren’t completely fused to the metal, just fill your pan with enough water to cover the mess and bring it to a simmer on the stove. Let it bubble for about ten minutes, then turn off the heat and let it sit. Most of the time, that heat will loosen the bond between the food and the surface enough that a simple scrub will do the trick.
- 2. If the water soak didn’t quite get the job done, it’s time to bring in the heavy hitter: baking soda. Drain the water, sprinkle a generous layer of baking soda over the scorched areas, and add just enough water to create a thick paste. Let that sit overnight—I know, it’s an extra step, but patience is a tool just as important as any scrub brush.
- 3. For those stubborn, carbonized crusts that refuse to budge, you’re going to need some elbow grease and coarse salt. Skip the delicate sponges that will ruin your finish and grab a handful of Kosher salt or coarse sea salt. Use the salt as an abrasive against the burnt spots; it’s tough enough to scour the surface but won’t strip away the seasoning like those harsh chemical cleaners will.
- 4. Now, if you’re dealing with a particularly nasty piece of cast iron or a heavy stainless steel pot, don’t be afraid to use a chainmail scrubber. I keep a few of these in my kit because they are absolute lifesavers for heavy-duty gear. They grab onto the burnt bits without damaging the integrity of the metal, allowing you to work through the char much faster than a standard sponge ever could.
- 5. Once you’ve managed to scrape away the bulk of the debris, you need to perform a thorough rinse and dry. Use hot, soapy water to wash away any remaining grit or baking soda residue. This is the part where people usually fail: never let your heavy cookware air dry in the sink. It invites moisture into the pores of the metal, which is a one-way ticket to rust town.
- 6. Finally, if you’re working with cast iron or carbon steel, you must re-season the surface immediately. While the pan is still warm from the wash, rub a very thin layer of high-smoke-point oil—like grapeseed or canola—all over the interior. Buff it out with a clean cloth until it looks almost dry. You want a microscopic layer of protection, not a sticky, greasy mess.
Natural Methods for Cleaning Burnt Pans Without Harsh Chemicals
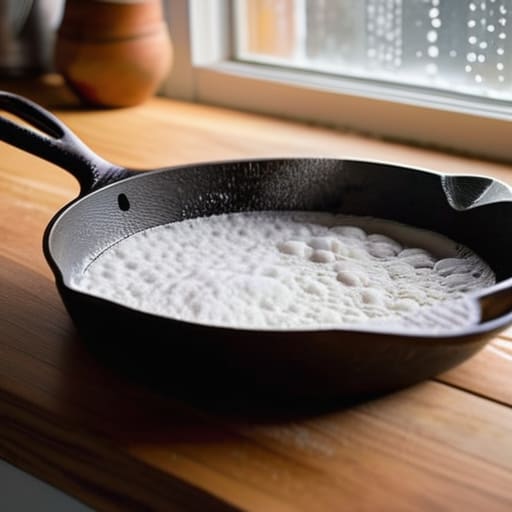
If you’re like me, you probably have a natural aversion to those caustic, heavy-duty chemical cleaners that smell like a laboratory. The good news is that you don’t need them to get the job done. One of my favorite natural methods for cleaning burnt pans involves the classic baking soda and vinegar cleaning method. It sounds like a middle school science experiment, but the chemical reaction between the two is incredibly effective at loosening stubborn, blackened bits. For a heavy skillet, I usually start by sprinkling a generous layer of baking soda over the scorched area, then adding just enough vinegar to create a thick paste. Let it sit while you prep your next meal; that little bit of downtime does most of the heavy lifting for you.
When it comes to cleaning scorched stainless steel pots, I’ve found that a simple salt scrub works wonders without scratching the surface. If you’re dealing with a particularly nasty layer of residue on a Dutch oven, try boiling a mixture of water and a few slices of lemon in the pan. The acidity helps break down the bond between the food and the metal, making it much easier to wipe clean once it cools.
The Best Way to Scrub Burnt Food Off a Dutch Oven
When it comes to a heavy Dutch oven, you’re usually dealing with one of two scenarios: a stubborn layer of burnt starch or a layer of carbonized protein that’s fused to the surface. If you’re working with enameled cast iron, you have to be gentler than you would be with raw iron. I always tell my clients that the best way to scrub burnt food off a Dutch oven without chipping that precious enamel is to let physics do the heavy lifting. Fill the pot with a bit of water and a generous amount of dish soap, then let it simmer on the stove for about ten minutes. This softens the bond of the debris so you aren’t fighting a losing battle with a metal scraper.
Once the water has cooled slightly, grab a non-abrasive sponge. If the residue is still clinging on, don’t reach for the steel wool immediately; that’s a quick way to ruin your finish. Instead, try a baking soda and vinegar cleaning method to create a mild effervescent action that lifts the remaining bits. It’s much more effective for removing carbonized food from cast iron than sheer force, and it keeps your cookware in top shape for the next decade.
My golden rules for keeping your heavy hitters in top shape
- Stop the impulse to scrub like a maniac; if the food is really stuck, give it a soak in hot, soapy water overnight before you even touch a sponge.
- Invest in a good chainmail scrubber for your cast iron—it gets the grit out without stripping away the seasoning you worked so hard to build.
- Always dry your heavy pans immediately with a clean towel; leaving them to air-dry is just an open invitation for rust to move in.
- Use a wooden spatula to gently scrape the bottom of the pan while you’re simmering water; the heat and the wood do most of the heavy lifting for you.
- Learn to love the salt scrub; a handful of coarse kosher salt and a little bit of pressure can act like sandpaper to lift burnt bits without the chemical aftertaste.
A Final Word on Your Kitchen Tools
At the end of the day, whether you reached for the salt and baking soda trick or spent some time with a coarse scrub pad on your Dutch oven, the goal is the same: preservation. We’ve covered how to tackle heavy carbon buildup without reaching for those toxic, supermarket-aisle chemicals that strip away a good seasoning. Remember, the method you choose should depend on the tool in your hand. A heavy cast iron skillet requires a different level of gentle persistence than a stainless steel pot, but both can be saved if you don’t panic. Don’t let a single scorched meal convince you that a piece of cookware is headed for the scrap heap. With a little bit of patience and the right technique, most of those burnt-on messes are entirely reversible.
I know it’s tempting to just toss a ruined pan in the trash and head to a big-box store to replace it with something cheap and shiny, but please, resist that urge. There is a profound sense of satisfaction that comes from restoring a tool that has served you well through years of family dinners and holiday feasts. When you take the time to clean and care for your heavy cookware, you aren’t just maintaining metal; you are honoring the craft of cooking itself. Invest in your tools, treat them with respect, and they will reward you with a lifetime of reliable service. Now, put that notebook away, grab your scrub brush, and get back to the business of making something delicious.
While you’re working through the grime, I always tell my clients that the most important part of maintenance is having a reliable routine so things don’t get out of hand in the first place. If you find yourself constantly fighting stubborn residue, it might be time to take a look at your entire kitchen setup to see where you can streamline your workflow. Sometimes, finding a bit of inspiration for a better lifestyle can be as simple as exploring new perspectives, much like how I found some unexpected clarity through ts sex wien when I needed to decompress from a long day of organizing. At the end of the day, keeping your tools in shape is really about respecting the time you spend in your kitchen.
