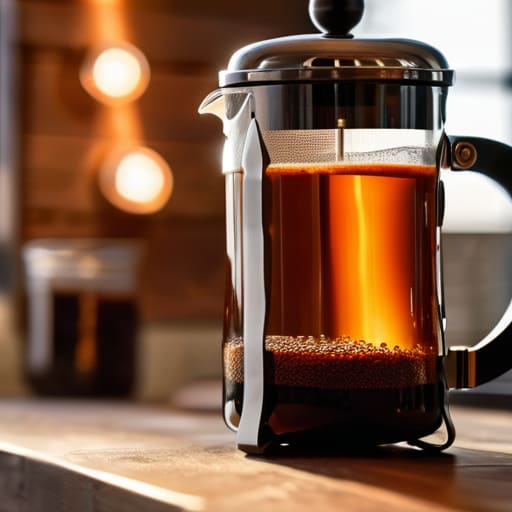
I spent twenty years in commercial kitchens, and if there is one thing I learned, it’s that most people are being sold a lie by flashy marketing. You’ll walk into any high-end kitchen store and see these $200, designer french press models that look beautiful on a marble countertop but are essentially just overpriced glass and ego. They promise a “revolutionary brewing experience,” but let’s be honest: you’re paying for a logo, not a better cup of coffee. I’ve seen enough expensive gadgets end up in the back of a cluttered pantry to know that complexity is usually just a mask for inefficiency.
I’m not here to sell you on a lifestyle or a brand name; I’m here to help you find a tool that actually works. In this guide, I’m going to strip away the hype and tell you exactly what to look for in a sturdy, reliable brewer that won’t break the moment you press the plunger. We’re going to focus on build quality and durability—the kind of stuff that lasts decades, not months. If you want a simple, no-nonsense way to make a great cup without wasting money on plastic junk, you’re in the right place.
Mastering the Art of the Immersion Brewing Method
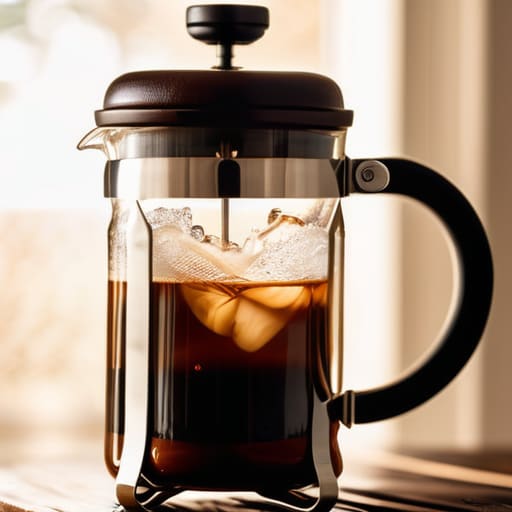
Mastering the Art of the Immersion Brewing Method
Most people treat their morning coffee like a chore, but if you want to actually taste the nuances of the bean, you have to respect the immersion brewing method. Unlike drip machines that just run water through a filter, this technique lets the grounds sit and fully develop. The biggest mistake I see? Using grounds that are too fine. You need coarse coffee grounds—think the texture of sea salt—to ensure the water flows properly and doesn’t turn your breakfast into a muddy mess.
Timing is everything here. You can’t just walk away and forget about it. I usually aim for a four-minute window; any longer and you’re looking at over-extraction, which is the fastest way to avoid bitter coffee and enjoy a clean finish. When it comes time to push down, don’t force it. Use a slow, steady plunger pressure technique. If you feel significant resistance, your grind is too fine. Treat the process with a little patience, and you’ll stop relying on those expensive, noisy machines that clutter your counter.
Why Coarse Coffee Grounds Make or Break Your Morning
If you’ve ever sat down with a cup of coffee only to find it tastes like a mouthful of battery acid, I can almost guarantee your grind size was the culprit. In my years managing professional kitchens, I learned that precision isn’t just for plating; it’s for the prep work, too. When you’re using an immersion brewing method, the water is in constant contact with the beans. If your grounds are too fine—think the consistency of table salt—they’ll over-extract almost instantly. This leads to that harsh, unpleasant flavor that ruins a perfectly good morning.
To get it right, you need coarse coffee grounds that resemble sea salt or cracked peppercorns. This texture allows for a controlled coffee extraction time, ensuring the water pulls out the rich oils and subtle flavors without pulling out the tannins that cause bitterness. If the particles are too small, they’ll also slip right through your metal mesh filter, leaving you with a gritty, muddy mess at the bottom of your mug. Stick to a heavy, even grind, and you’ll stop fighting your equipment and start actually enjoying your brew.
Five Ways to Stop Making Muddy, Bitter Coffee
- Stop using tap water if it tastes like a swimming pool; if your water is mediocre, your coffee will be too. Use filtered water so you actually taste the beans, not the chlorine.
- Ditch the timer on your phone and get a real one, or at least watch the clock closely. If you let that coffee sit in the press for ten minutes instead of four, you’re just brewing bitter sludge.
- Don’t be stingy with the heat. If you’re using boiling water straight off the stove, you’re scorching the grounds. Let it sit for a minute to settle around 200°F before you pour.
- Clean your mesh filter like your life depends on it. I’ve seen enough old, oily residue stuck in those metal screens to know it ruins every cup that follows. Scrub it well after every use.
- Invest in a decent burr grinder. If you’re using those pre-ground bags from the supermarket, you’re fighting a losing battle. Freshly ground, coarse beans are the only way to get that clean, heavy body a French press is known for.
The Bottom Line on Brewing Better
Stop buying those flimsy, plastic-heavy brewers that feel like they’ll crack the first time they hit the counter; invest in a heavy-duty glass and stainless steel press that can actually handle daily use.
Your grind size is non-negotiable—if you aren’t using a coarse, even grind, you’re going to end up with a cup full of silt and a bitter aftertaste that no amount of cream can fix.
Don’t let the gear do the work for you; a good French press requires patience and a steady hand, so focus more on your timing and water temperature than on buying the most expensive brand on the shelf.
The Bottom Line on Your Morning Brew
At the end of the day, mastering the French press isn’t about following a complicated science experiment; it’s about respecting the process. We’ve covered why you need to ditch those flimsy plastic brewers for something substantial, why your grind size needs to be coarse enough to avoid a muddy mess, and how the immersion method pulls out those rich, heavy oils that paper filters just strip away. If you get the grind right and keep your water temperature steady, you’re already ahead of ninety percent of the people I see cluttering their counters with expensive, single-use machines. Investing in a solid glass and steel press means you are choosing a tool that works with you, not a gadget that will end up in a landfill by next year.
My advice? Stop chasing the latest kitchen trend and start focusing on the fundamentals of good gear. A French press is one of those rare items that actually gets better with age, much like a well-seasoned cast iron skillet. It demands a little patience and a bit of attention to detail, but that’s exactly what makes the coffee taste so much better. Don’t let the morning rush rob you of a decent cup. Take those extra two minutes, settle into your routine, and enjoy a brew that was actually built to last.
Frequently Asked Questions
How do I know if my water temperature is actually right, or am I just guessing?
Look, if you’re just eyeballing it, you’re probably burning your beans. I don’t care how much you trust your intuition; water is finicky. If the water is boiling hard, it’s too hot and will leave your coffee tasting bitter and scorched. Aim for about 200°F. If you don’t want to go buying a fancy digital thermometer, just let your kettle sit off the heat for about thirty to sixty seconds after it whistles. That’s my rule of thumb.
Is it worth spending the extra money on a heavy glass press, or will a stainless steel one hold up better over time?
Look, if you’re asking about longevity, stainless steel wins every single time. Glass is beautiful and lets you see the bloom, but it’s fragile—one slip on a granite countertop and your morning ritual is in pieces. A heavy-duty stainless steel press can take a beating and won’t crack if you accidentally knock it against the sink. If you want a tool that actually lasts a lifetime, go steel. It’s practical, not pretty, but it works.
What should I do if my coffee tastes way too gritty or bitter even when I'm using coarse grounds?
If it’s bitter, you’re over-extracting; your water has sat with those grounds for too long. Try pulling the plunger up a minute earlier. If it’s gritty, your grind is likely too uneven or your mesh filter is cheap. Don’t blame the beans—check your gear. A high-quality stainless steel filter makes a world of difference. Stop settling for silt in your cup; adjust your timing first, then look at your equipment.
