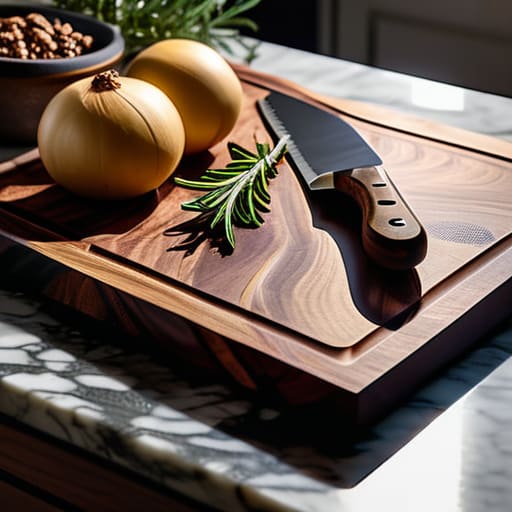
I spent twenty years in commercial kitchens where the rhythm of the service depended entirely on the tools in front of you. I can still hear the rhythmic thwack-thwack-thwack of a chef’s knife hitting a heavy maple block, a sound that meant precision and speed. Most people, however, are trying to prep dinner on a thin, flimsy piece of plastic that slides around the counter like a hockey puck. It’s frustrating to watch because a cheap, undersized cutting board isn’t just an annoyance; it’s actively dulling your expensive knives and making your prep work twice as hard as it needs to be.
I’m not here to sell you on some high-tech, bamboo-composite nonsense that’s going to crack the first time you chop an onion. My goal is to help you cut through the marketing fluff and find a piece of equipment that actually belongs in a working kitchen. I’m going to walk you through exactly what to look for in terms of wood species, thickness, and maintenance so you can invest in something that lasts a lifetime. We’re going to focus on durability and function, because your kitchen should work for you, not the other way around.
Table of Contents
The End Grain vs Edge Grain Debate
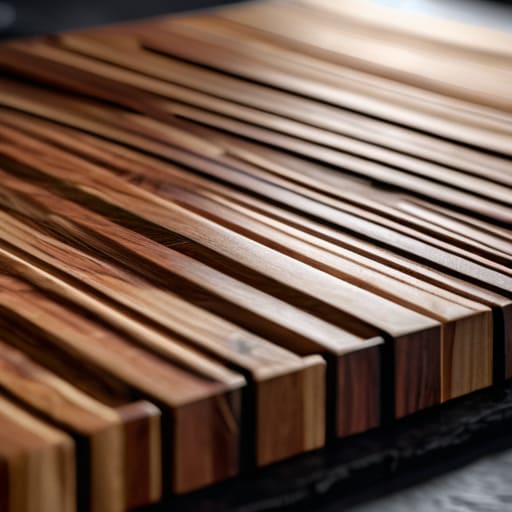
When you’re standing in the kitchenware aisle, you’ll see boards that look identical, but the way those wood fibers are oriented makes a massive difference in how they perform. I always tell my clients to look closely at the grain. With an edge grain board, the wood strips run parallel to the surface. They’re sturdy and usually a bit more affordable, but they tend to show knife marks more quickly. If you aren’t careful, those deep grooves can become a headache for hygiene and food safety because they trap moisture and food particles.
Now, if you want to do things the professional way, you go with end grain. In an end grain setup, the wood fibers stand vertically, like a bundle of tiny straws. When your knife hits the surface, it slides between the fibers rather than slicing through them. This is the absolute best wood for chopping if you care about your cutlery, because it’s incredibly effective at preventing knife dulling. It’s a heavier, more expensive investment, but it heals itself as you work. If you’re looking for something that will actually last a lifetime, the end grain is worth every penny.
Selecting the Best Wood for Chopping
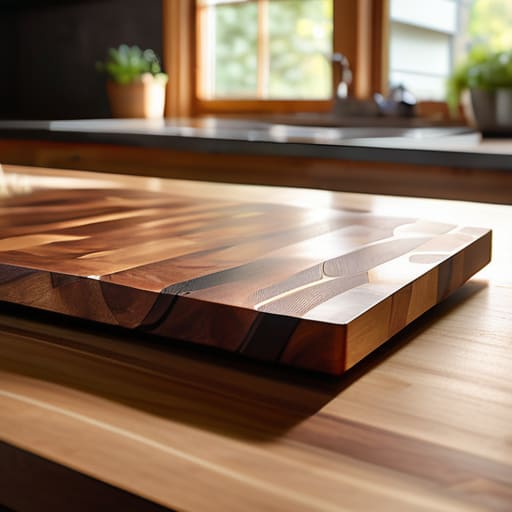
When you’re browsing the aisles, you’ll see a dozen different species of timber, but most of them are just marketing fluff. If you want the best wood for chopping, you need to look at density and grain structure. Maple is my old standby; it’s hard enough to handle heavy prep but forgiving enough to avoid preventing knife dulling prematurely. Walnut is a beautiful, darker alternative that offers a similar level of durability, though it tends to run a bit higher in price.
I always tell my clients to steer clear of anything too soft, like pine, or anything overly exotic and oily that might leach flavors into your food. You want a tight grain pattern. This is vital for hygiene and food safety, as it prevents liquids from seeping deep into the fibers where bacteria can hide. Stick to closed-grain hardwoods that can handle a bit of seasoning and regular maintenance. If the wood feels lightweight or suspiciously cheap, leave it on the shelf. You’re looking for something with enough heft to stay put on your counter while you work.
How to Actually Maintain Your Boards (And Not Ruin Them)
- Stop using dishwashers; if you put a good wood board in a dishwasher, you’re basically asking it to crack and warp within a week. Hand wash with warm, soapy water and dry it immediately.
- Get yourself a food-grade mineral oil or a beeswax conditioner. Once a month—or whenever the wood starts looking thirsty and dull—rub it in well to keep the moisture out and the wood from splitting.
- Never, and I mean never, use your cutting board as a serving tray for acidic foods like lemons or vinegar. The acid can seep into the wood grain and strip away the oil you just worked so hard to apply.
- If you see deep grooves or stains starting to form, don’t toss it. Grab some coarse sandpaper, sand it down smooth, and re-oil it. It’ll feel brand new and be ready for another decade of service.
- Keep your boards upright when they dry. If you lean them flat against a wall or leave them lying flat on the counter, they can trap moisture underneath and start to warp or grow mold. Give them some airflow.
My Rules for a Board That Actually Lasts
Skip the cheap plastic or bamboo nonsense; if you want a board that won’t dull your knives or end up in a landfill by next year, invest in a solid piece of hardwood.
Don’t get intimidated by the technical terms—just remember that end grain is the professional’s choice for longevity, while edge grain is perfectly fine if you’re on a tighter budget.
A good board is only as good as your maintenance; keep it oiled and never, ever throw it in the dishwasher unless you want to ruin it permanently.
The Real Cost of a Cheap Board
“I’ve seen too many people blow their budget on fancy gadgets while they’re still hacking away at a thin, plastic slab that dulls their knives and wobbles on the counter. A serious kitchen starts with a heavy, reliable board—something that feels solid under your knife and actually stays in your kitchen for twenty years instead of twenty weeks.”
Rosalind Hayter
Making the Right Call
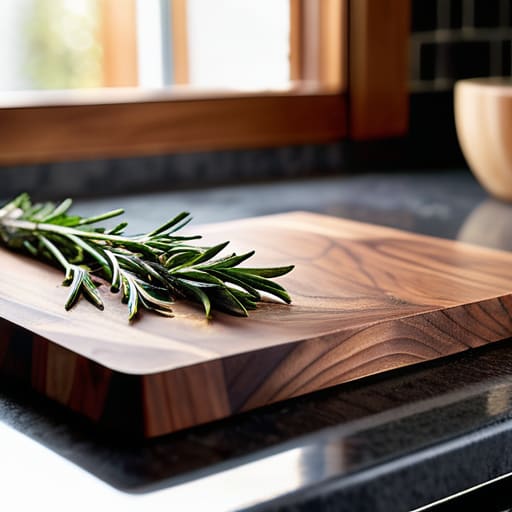
At the end of the day, choosing a cutting board isn’t about finding the prettiest thing in a catalog; it’s about finding a tool that won’t fail you when you’re in the middle of a dinner rush. We’ve covered the heavy hitters: you need to decide if the durability of an end-grain board fits your lifestyle, or if a reliable edge-grain option is more practical for your space. Remember to prioritize hardwoods like maple or walnut over those cheap, soft woods that will scar and trap bacteria within weeks. If you invest in a solid, high-quality piece of wood, you aren’t just buying kitchenware—you are investing in the longevity of your knives and the safety of your food.
My advice? Stop looking for the “perfect” gadget and start looking for the right foundation. A kitchen is only as functional as the tools you rely on every single day, and a good cutting board is the unsung hero of every meal you prep. Treat your board well—oil it regularly and keep it out of the dishwasher—and it will serve you for decades. Don’t let the trends dictate your setup. Build a kitchen that is steady, grounded, and built to last, one honest tool at a time. Now, go grab a bottle of food-grade mineral oil and get to work.
Frequently Asked Questions
How often do I actually need to oil these boards to keep them from cracking?
Look, there’s no magic number, but if the wood looks dull or feels thirsty, it’s time. I usually check mine once a month, but if you’re a heavy cook using it daily, you might need to oil it every two weeks. A good rule of thumb? Drop a little water on the surface. If it soaks in immediately instead of beading up, grab your mineral oil. Don’t wait until you see a crack to start caring.
Is it safe to use a wooden board for raw meat, or am I just inviting bacteria into my kitchen?
Look, I get it. The idea of raw chicken juices soaking into a piece of wood sounds like a recipe for food poisoning. But here’s the reality: a well-maintained wood board is actually safer than those flimsy plastic ones. Wood has natural antimicrobial properties that pull bacteria deep into the fibers where they die off. Just don’t get lazy. Scrub it with hot, soapy water and never, ever throw it in the dishwasher.
Can I put these in the dishwasher, or is that a one-way ticket to ruining them?
If you put a real wood cutting board in the dishwasher, you’re essentially throwing money down the drain. The high heat and intense water pressure will warp the wood, crack the grain, and strip away every bit of moisture. It’s a one-way ticket to a ruined board. Treat it like a professional tool: hand wash with warm, soapy water, dry it immediately, and give it a little oil once in a while. That’s it.
