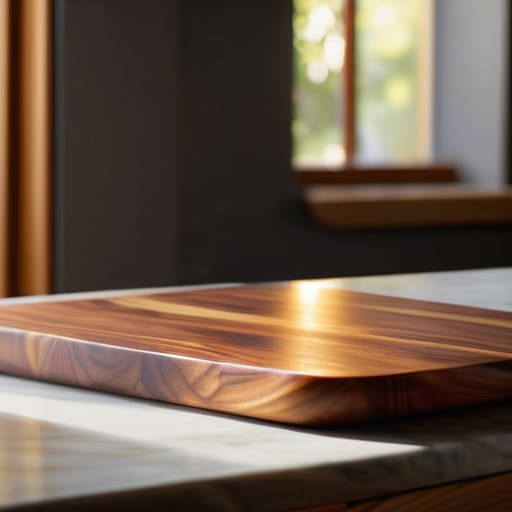
I remember standing in the middle of a high-volume commercial kitchen during a Saturday night rush, the air thick with steam and the rhythmic thwack-thwack-thwack of knives hitting prep stations. Back then, I saw a lot of cheap, thin boards get tossed into the trash because they’d warped, cracked, or turned into a breeding ground for bacteria. It used to drive me crazy seeing people spend hundreds on “designer” kitchen gadgets while they were still using a flimsy, scarred piece of plastic for their daily prep. If you’re looking for a fancy status symbol, go elsewhere, but if you want a wooden cutting board that actually survives a decade of heavy use, you need to understand how the grain and the wood species actually work.
I’m not here to sell you on some overpriced, artisanal slab that requires a PhD to maintain. My goal is to give you the straight truth on what makes a tool functional and what’s just marketing fluff. I’ll show you exactly what to look for so you can invest in something that stays on your counter for a lifetime, rather than something that ends up in a landfill by next Christmas.
Table of Contents
Finding the Best Wood for Cutting Boards That Last
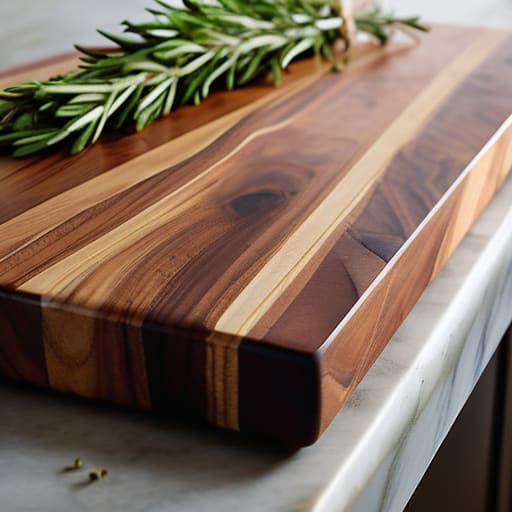
When you’re browsing the aisles, you’ll see a dozen different types of timber, but not all of them are created equal. If you want something that won’t warp or crack after three months, you need to stick to dense hardwoods. I always tell my clients to look for maple, walnut, or cherry. These are the gold standard for hardwood kitchen accessories because they offer the perfect balance of durability and resilience. Avoid anything soft or porous; you aren’t looking for a decorative piece, you’re looking for a workhorse.
The real debate usually comes down to end grain vs edge grain construction. If you have the budget, go for end grain. The wood fibers stand vertically, acting like tiny brushes that part when your knife hits them. This is the secret to preventing knife dulling over years of heavy use. If you’re on a tighter budget, an edge grain board is a perfectly fine, practical alternative, provided you treat it right. Regardless of which you choose, remember that a little regular maintenance with food-grade mineral oil is the only way to keep that wood from drying out and splitting.
Preventing Knife Dulling With Proper Hardwood Kitchen Accessories
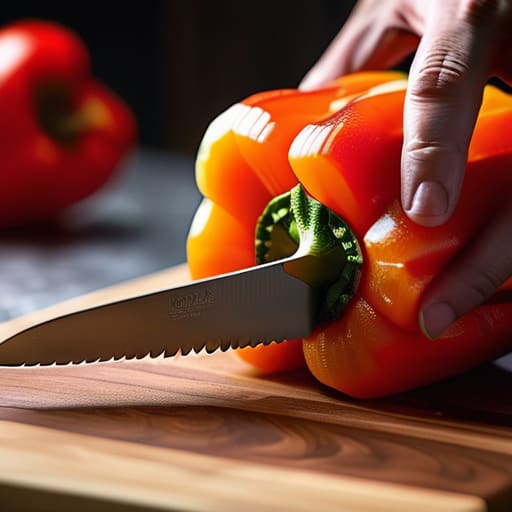
If you’re still hacking away at those cheap, thin plastic mats, you’re essentially sabotaging your expensive knives every single time you prep a meal. Plastic is too hard and too unforgiving; it creates micro-serrations on your blade that force you to sharpen far more often than necessary. When it comes to preventing knife dulling, the material under your blade is just as important as the steel itself. A proper hardwood surface actually “gives” slightly when the blade strikes, protecting that razor edge.
This is where the debate of end grain vs edge grain comes into play. In my years managing commercial kitchens, I saw how much of a difference the orientation makes. An end-grain board acts like a bed of tiny bristles; the knife blade slides between the fibers rather than slicing through them. This not only preserves your edge but also keeps the surface looking pristine for years. Pair that with a regular application of mineral oil for wood maintenance, and you’ve got a setup that works for you instead of making you work harder to keep your tools sharp.
How to Keep Your Board from Turning into a Biohazard
- Stop putting your wooden boards in the dishwasher. I don’t care what the box says; the heat and the moisture will warp the wood and crack it within a month. Hand wash with warm, soapy water, dry it immediately, and get it back on the counter.
- Oil it more often than you think you need to. Once the wood starts looking dull or feels thirsty, slather it in food-grade mineral oil. It creates a barrier that keeps moisture and bacteria from seeping into the grain.
- Never use your cutting board for anything other than food. If you’re using it as a trivet for a hot pot or a base for a heavy decorative candle, you’re asking for deep gouges and heat damage. Keep it dedicated to the knife work.
- Scrub away the stains, but don’t go overboard with harsh chemicals. If you’ve been chopping beets or turmeric and the board looks a little funky, a paste of baking soda and lemon juice works wonders without stripping the natural oils.
- Watch for the cracks. As a former catering manager, I’ve seen plenty of boards that look fine until a piece of food gets lodged in a hairline fracture. If you see a deep split, it’s time to retire that board to the scrap pile or use it for something non-food related.
The Bottom Line on Your Next Board
Stop buying those cheap, thin plastic boards that warp and harbor bacteria; invest in a thick, solid hardwood piece that can be sanded down and reused for decades.
Match your wood choice to your knife quality—harder woods like maple are durable, but if you’re using high-end Japanese steel, you need a board that won’t punish your edge.
Maintenance isn’t optional if you want your gear to last; a quick routine of oiling your board will keep the wood from cracking and prevent it from becoming a disposable piece of junk.
## Invest in the Surface, Not the Trend
“I’ve seen enough cheap, plastic boards end up in the trash to know that if you aren’t willing to invest in a solid piece of hardwood, you’re just paying to dull your knives and clutter your cabinets.”
Rosalind Hayter
The Bottom Line
At the end of the day, choosing a cutting board isn’t about picking the prettiest thing on a boutique website; it’s about selecting a tool that respects your knives and your time. We’ve talked about why the right species of hardwood matters and how a cheap, thin board is nothing more than a recipe for dull blades and frustration. Remember, a high-quality board is an investment in your kitchen’s long-term functionality. If you stick to dense, stable woods and commit to a little bit of routine maintenance, you won’t be shopping for a replacement in six months. Stop chasing the cheap stuff and start building a workspace that actually works for you.
I know it can feel overwhelming with all the endless options out there, but I promise you, simplicity wins every single time. A kitchen shouldn’t be a showroom for gadgets you’re afraid to touch; it should be a place where you feel grounded and capable. When you invest in a solid, well-maintained wooden board, you’re not just buying kitchenware—you’re establishing a better way of cooking. Treat your tools with respect, keep them seasoned, and they will serve you for decades. Now, put down the plastic, grab a good piece of maple or walnut, and get back to the business of making something delicious.
Frequently Asked Questions
How often do I actually need to oil my board to keep it from cracking?
Look, there’s no magic calendar for this, but here’s the rule of thumb I used in commercial kitchens: if the wood looks thirsty or feels parched to the touch, it’s time. Usually, that’s once a month. If you’re a heavy user, you might need to do it every two weeks. Don’t wait until you see a crack; by then, the damage is done. Keep it oiled, and it’ll stay solid for decades.
Is it safe to put my wooden board in the dishwasher, or am I just asking for trouble?
Don’t even think about it. If you put a wooden board in the dishwasher, you’re essentially signing its death warrant. That intense heat and the soaking cycle will warp the wood, cause it to crack, and eventually split wide open. Once that happens, it’s trash. Just hand-wash it with warm, soapy water, dry it immediately, and give it a little oil every now and then. It’s a small effort to keep your gear lasting a lifetime.
What’s the best way to clean off raw meat juices without ruining the wood?
Look, I’ve seen too many people try to scrub raw meat juices with harsh chemicals or, worse, toss the board in the dishwasher. Don’t do that. You’ll crack the wood and ruin the finish. Instead, wash it immediately with warm water and a gentle, unscented dish soap. If you’re worried about bacteria, a quick rub with a lemon wedge and coarse salt works wonders. Scrub, rinse, and dry it upright immediately.
