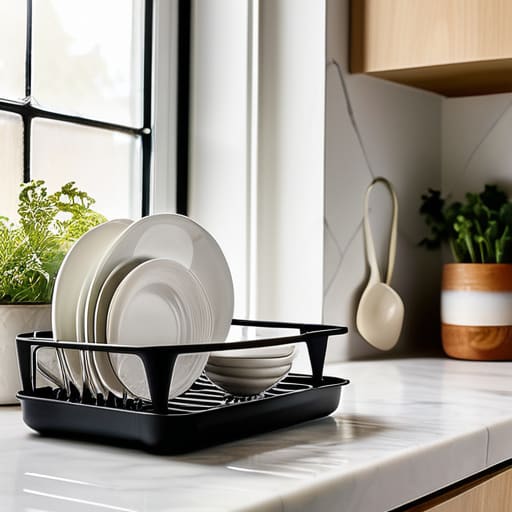
I’ve spent twenty years in commercial kitchens where every square inch of counter space is a battleground, and if there is one thing I’ve learned, it’s that most people are throwing money away on “designer” kitchenware that belongs in a landfill. I’m talking about those flimsy, neon-colored plastic organizers you see in big-box stores—the kind that start wobbling after three weeks and inevitably crack right where the weight of a heavy cast iron skillet hits them. You don’t need a high-tech, multi-tiered gadget with built-in drainboards that clog with lime scale; you need a dish drying rack that actually holds its ground and survives a lifetime of heavy use.
In this guide, I’m cutting through the marketing fluff to show you what actually works in a real, functioning kitchen. I won’t be recommending anything that looks pretty on a social media feed but fails the durability test in practice. Instead, I’m going to help you identify the materials and layouts that maximize efficiency without cluttering your workspace. We are going to find you a setup that is built to last, so you can stop replacing cheap junk and get back to what matters: actually using your kitchen.
Table of Contents
Why a Stainless Steel Dish Drainer Beats Plastic Junk
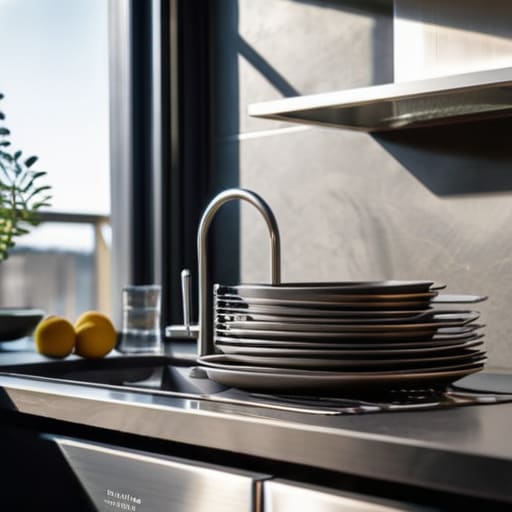
I’ve seen it a thousand times in both commercial kitchens and client homes: someone buys a cheap, brightly colored plastic rack, and within six months, it’s covered in lime scale, cracked, or sliding around the counter like it’s on ice. Plastic is porous and flimsy; it traps moisture and eventually starts to smell. If you want to stop the cycle of constant replacement, you need to invest in a stainless steel dish drainer. It’s a one-and-done purchase. Metal doesn’t warp under heat, and it won’t degrade when it sits in a puddle of water.
Beyond just durability, the build quality affects how your kitchen actually functions. A high-quality metal unit provides a stable foundation for your heavier items—think cast iron or stoneware—that would easily buckle a plastic counterpart. When looking at different kitchen sink accessories, pay close attention to the weight and the finish. A solid steel frame stays exactly where you put it, providing a reliable countertop dish organizer that handles the daily heavy lifting without looking like a piece of junk cluttering your workspace.
The Importance of Smart Drainage Tray Design
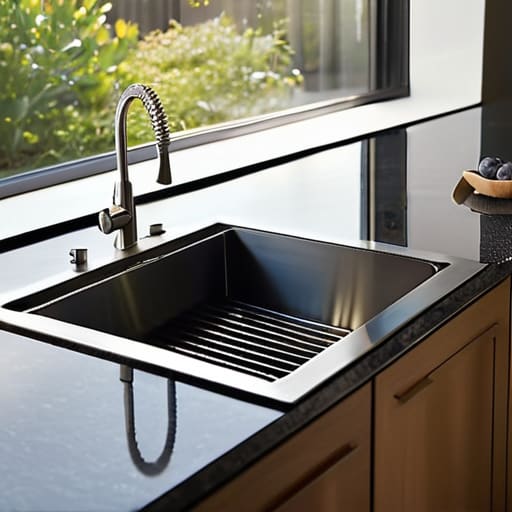
A lot of people focus entirely on the rack itself and completely overlook the tray underneath. I’ve seen too many beautiful setups ruined because the water has nowhere to go, leading to that dreaded puddle of stagnant moisture sitting right on your granite or laminate. If you’re looking at drainage tray design, you need to prioritize a slope. A well-engineered tray should direct water straight back into the sink, not let it pool in a shallow basin. If you have to wipe down your counters every ten minutes just to keep them dry, the system has failed you.
For those of us working with limited real estate, the way a tray integrates with your countertop dish organizer is everything. I always recommend looking for models with a removable, easy-to-clean tray that fits snugly within the footprint of the unit. This is especially vital if you are searching for a drying rack for small kitchens, where every inch of workspace is precious. Don’t settle for a tray that’s difficult to lift out; if you can’t easily clean it, it’s just going to become a breeding ground for grime and mold.
My Five Rules for Choosing a Rack That Actually Works
- Measure your footprint before you buy anything. I’ve seen so many people buy a massive, three-tier rack only to realize it takes up half their prep space; if you have a small kitchen, go vertical or stick to a compact, single-level model.
- Check the weight of the materials. If a rack feels light and hollow in your hand, it’s going to slide around your counter every time you try to set a heavy ceramic plate in it, which is a recipe for broken dishes.
- Look for removable parts. You want a rack where the utensil holder and the drainage tray can be easily pulled out; if you can’t get it under the faucet to clean it, it’s just going to become a breeding ground for lime scale and grime.
- Prioritize stability over aesthetics. Don’t get distracted by a “sleek” design that lacks rubberized feet; a good rack needs to grip the countertop so it stays put when you’re loading up heavy cast iron or stoneware.
- Think about your drying habits. If you mostly hand-wash delicate glassware, you need a rack with dedicated, padded slots to prevent chipping, rather than just a flat wire mesh that offers zero protection.
The Bottom Line on Choosing Your Rack
Stop buying cheap plastic racks that warp and crack under the weight of a heavy pot; invest in stainless steel or heavy-duty materials that will actually last you a decade.
Pay attention to the drainage system—if the tray doesn’t direct water straight into the sink, you’re just inviting mold and lime scale to settle on your countertops.
Don’t overcomplicate it with gadgets; look for a sturdy, functional design that fits your specific sink area and holds your real-world dishes without wobbling.
The Cost of Cutting Corners
“I’ve seen enough flimsy plastic racks collapse under the weight of a single heavy pot to know that if you aren’t buying for durability, you’re just buying more trash for the landfill. A good drying rack isn’t a luxury; it’s the foundation of a workspace that actually functions.”
Rosalind Hayter
Final Thoughts on Choosing Wisely
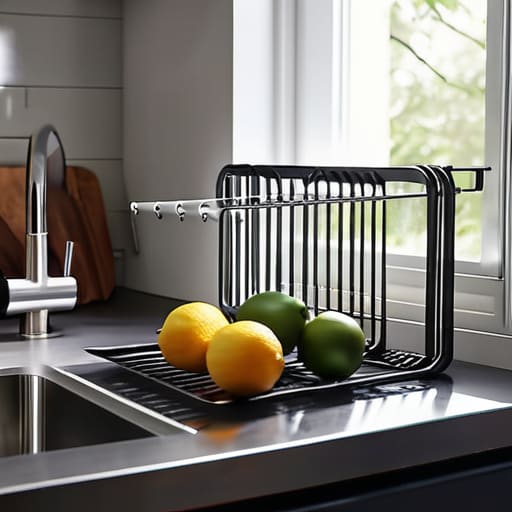
At the end of the day, choosing a dish drying rack shouldn’t be a complicated decision, but it is one where people frequently trip up. I’ve seen too many kitchens cluttered with flimsy, colorful plastic models that end up warped, stained, or cracked within a year. Remember, you aren’t just buying a place to set your plates; you are investing in a piece of kitchen infrastructure. Look for that heavy-duty stainless steel construction and a drainage system that actually directs water away from your countertops. If you prioritize material quality and smart design now, you won’t find yourself digging through a junk drawer for a replacement in six months.
My philosophy has always been simple: build a kitchen that supports your life rather than one that requires constant maintenance. A good, sturdy rack is a small part of your daily routine, but it’s a part that should work silently and efficiently in the background. Don’t let the marketing hype for “space-saving” gadgets distract you from the basics of durability and function. Buy the tool that is built to last, set it on your counter, and get back to what actually matters—making something delicious to eat.
Frequently Asked Questions
How much counter space am I actually going to lose by choosing a larger, more heavy-duty rack?
Look, I’ve seen people shrink their entire kitchen workflow just to save six inches of counter space. You aren’t just losing real estate; you’re losing efficiency. If you buy a massive, heavy-duty rack but end up having to stack bowls precariously because the rack is too small, you’ve actually wasted more space through clutter. Measure your primary prep zone first. If you can afford the footprint, go larger. It’s better to have a dedicated drying station than a pile of wet dishes encroaching on your workspace.
If I go with stainless steel, what's the best way to prevent those annoying water spots and rust streaks from showing up?
Look, I’ll be honest: stainless steel isn’t magic. If you let water sit and evaporate on it, you’re going to see spots. The trick is to dry the rack itself with a quick wipe of a microfiber cloth after you’ve cleared your dishes. If you do see streaks, a tiny bit of white vinegar on a cloth will cut right through the mineral buildup without scratching the finish. Just keep it dry, and it’ll last decades.
Is it worth spending more on a model with a built-in drainage spout, or can I just use a simple drip tray?
Look, if you have the counter space and the budget, go for the built-in spout. It’s a game changer for keeping your workspace bone-dry. There is nothing more frustrating than a stagnant pool of water sitting under your rack. However, if you’re working with a tight layout, a simple drip tray is perfectly fine—just make sure it’s easy to pull out and clean. Don’t overcomplicate it; just avoid anything that traps moisture.
