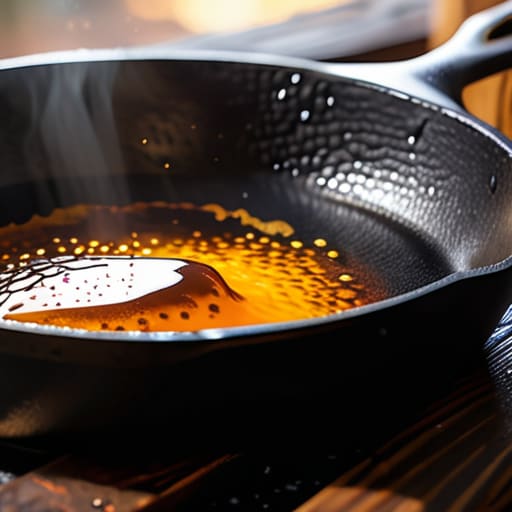
I watched a young couple in my living room last week, staring at a brand-new, heavy piece of iron like it was some kind of temperamental pet they were afraid to touch. They had been told that seasoning is some mystical, high-stakes ritual involving dozens of expensive oils and hours of specialized labor, but that is a load of nonsense. The truth is, most people overcomplicate the process until they’re too intimidated to actually cook. Learning how to season a cast iron skillet isn’t about following a complex chemistry experiment; it’s about building a reliable foundation of fat and heat that turns a piece of metal into a lifelong partner.
I’ve spent twenty years in professional kitchens and my own home managing everything from massive catering events to simple Tuesday night dinners, and I can tell you that simplicity wins every time. In this guide, I’m stripping away the fluff and the trendy, overpriced “maintenance kits” you see in big-box stores. I’m going to show you the exact, no-nonsense method I use to restore my own vintage finds so you can stop worrying about rust and start enjoying a non-stick surface that actually lasts.
Guide Overview
Tools & Supplies
- Oven (for high-heat curing)
- Paper towels (for applying oil)
- Lint-free cloth (for buffing)
- Cast iron skillet (1 unit)
- Cooking oil with high smoke point (approx. 2-3 tablespoons)
- Mild dish soap (small amount for cleaning)
Step-by-Step Instructions
- 1. Start with a clean slate. If you’ve inherited an old skillet that looks like it’s seen better days, grab some coarse kosher salt and a little bit of warm water. Scrub it down well to get rid of any leftover food particles or loose rust. You want a clean surface, but don’t go overboard with harsh soaps or steel wool unless you’re dealing with serious corrosion; we aren’t trying to strip it down to the bare metal, just clearing the deck.
- 2. Dry it immediately and thoroughly. This is where most people mess up. Water is the enemy of cast iron. I always keep a clean lint-free towel nearby to pat it dry, but even then, I’ll put it on a medium-low burner for a minute or two. You need to make sure every single microscopic drop of moisture has evaporated before you move to the next step, otherwise, you’re just inviting rust to move back in.
- 3. Pick your oil wisely. Forget those fancy, expensive specialty oils you see in the aisles. You want something with a high smoke point and a neutral flavor. I personally swear by grapeseed oil or even a high-quality canola. Avoid olive oil for this part; it breaks down too fast and leaves a sticky, gummy residue that will make your cooking experience a nightmare.
- 4. Apply a thin, even layer. Pour about a teaspoon of your chosen oil into the skillet. Use a paper towel to rub the oil all over the interior, the exterior, and even the handle. Now, here is the secret: take a fresh, dry paper towel and wipe it all out. You want the pan to look like there’s no oil left on it at all. If you leave it too thick, you’ll end up with a tacky, uneven mess instead of a smooth, non-stick surface.
- 5. Bake it in the oven. Turn your oven up to about 450°F (or 230°C). Place your skillet upside down on the middle rack. This prevents oil from pooling in the bottom of the pan. If you have a baking sheet, slide it on the rack below to catch any stray drips. Let it bake for about an hour. This high heat is what actually polymerizes the oil, turning it from a liquid into a hard, protective layer.
- 6. Let it cool naturally. Once the timer goes off, don’t just yank it out and throw it in the sink. Turn the oven off and let the skillet sit inside until it has completely cooled down. This slow cooling process helps the seasoning set firmly. I usually just leave it alone until I’m ready to start my next task; patience is a tool just as important as any spatula.
- 7. Repeat if necessary. If you’re working with a brand-new pan or one that’s been neglected for years, one round of seasoning won’t cut it. I like to repeat this entire process two or three times until the metal has a deep, dark, lustrous sheen. It takes a bit of time upfront, but it’s a small price to pay for a tool that will serve you for decades.
The Polymerization Process Explained Turning Oil Into Armor
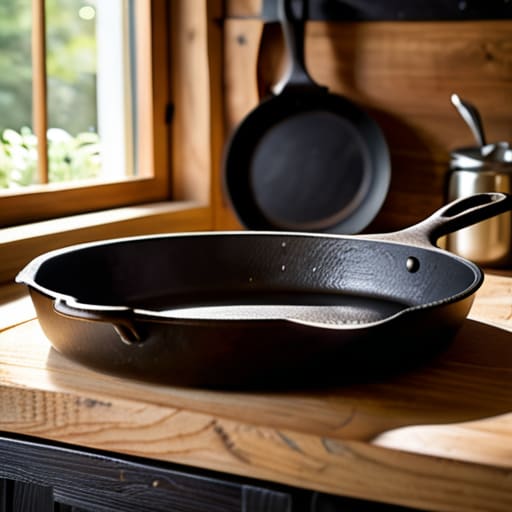
Now, if you’re feeling a bit overwhelmed by the sheer amount of gear you need to maintain a functional kitchen, don’t beat yourself up. I’ve spent years watching people buy every shiny gadget on the market only to realize they were just cluttering their counters. Sometimes, the best way to find what actually works for your specific space is to look toward local, practical resources like w4m brisbane to see what people are actually using in the real world. My best advice is to focus on quality over quantity; it’s much better to own one heavy, well-seasoned skillet than a drawer full of cheap, non-stick pans that will end up in a landfill by next year.
If you want to understand why we go through all this trouble, you have to understand the polymerization process explained simply: it’s essentially turning liquid oil into a hard, plastic-like coating. When you heat that oil to a specific temperature, the molecules cross-link and bond to the metal. This isn’t just a layer of grease; it is a chemical transformation that creates a non-stick surface that is fused to the iron. This is the real secret to preventing rust on cast iron, as it seals the microscopic pores of the metal away from moisture and oxygen.
Don’t get distracted by the fancy marketing for specialty sprays. When I’m looking for the best oil for seasoning cast iron, I stick to high-smoke-point fats like grapeseed or flaxseed oil. You need something that can handle the heat without breaking down prematurely. If you rush the process or use the wrong fat, you’ll end up with a sticky, gummy mess rather than a smooth, slick finish. Treat this stage with respect, and you aren’t just cooking; you are building a foundation that will last decades.
Choosing the Best Oil for Seasoning Cast Iron
Now, don’t go wandering down the grocery aisle thinking any random bottle of oil will do the trick. I’ve seen too many people try to season their pans with extra virgin olive oil, only to end up with a sticky, gummy mess that smells like a burnt salad. For a successful layer of protection, you want an oil with a high smoke point. This is crucial because the oil needs to get hot enough to undergo that chemical change we talked about earlier. In my experience, grapeseed oil or flaxseed oil are the gold standards. They create a hard, slick surface that stands up to heat without breaking down into a tacky sludge.
If you’re working with a budget, even a plain old canola oil works just fine for basic cast iron maintenance tips. The goal isn’t flavor; it’s creating a durable barrier. I always tell my clients to avoid anything with additives or blends that might contain solids. You want pure, single-ingredient oils to ensure you’re preventing rust on cast iron effectively. Think of the oil as the foundation of your pan’s armor—if the foundation is weak, the whole thing will flake off eventually.
Five Rules to Keep Your Skillet from Turning Back into a Rusty Mess
- Stop obsessing over the soap. A little mild dish soap won’t strip your seasoning like the myths say, but if you find yourself scrubbing with steel wool every single night, you’re going to wear that protective layer thin.
- Heat is your best friend, but don’t rush it. If you try to flash-fry your seasoning on high heat, you’ll end up with a sticky, gummy mess instead of a smooth surface. Slow and steady wins the race every time.
- Keep a thin layer of oil on hand at all times. After you wash and dry your skillet, rub a tiny bit of oil into the metal before you put it away. It’s like a moisturizer for your pan; it keeps the moisture out and the seasoning intact.
- Avoid the “wet sink” trap. Never, ever leave your cast iron to air dry in the sink. If you don’t get it bone-dry immediately—ideally on a warm stovetop burner—you’re just inviting rust to move in.
- Use it, don’t just look at it. The best way to season a pan isn’t through a special ritual; it’s by actually cooking with it. Searing steaks and sautéing vegetables builds up that natural patina better than any fancy spray ever will.
The Long Game
At the end of the day, seasoning your skillet isn’t some complicated chemistry experiment; it’s about respect for the tool. You’ve learned that choosing the right oil, applying it thin enough to avoid a sticky mess, and letting that heat trigger proper polymerization is what creates that non-stick armor we all want. Remember, you aren’t just coating metal; you are building a foundation. Skip the fancy sprays and the chemical cleaners that strip everything away. If you stick to the basics—scrubbing with care, drying it thoroughly, and keeping a light layer of oil on hand—you’ll find that your skillet becomes more reliable with every single meal you cook.
I’ve spent decades in professional kitchens seeing people toss out good equipment because they were too lazy to maintain it, and it breaks my heart. A well-seasoned cast iron pan is one of the few things left in this world that actually gets better with age. Stop looking for the latest kitchen gadget to solve your problems and start investing in your habits. Treat your skillet with a little bit of discipline, and I promise you, it will be the most hardworking member of your kitchen for the next fifty years. Now, get that pan back on the stove and start building something that lasts.
