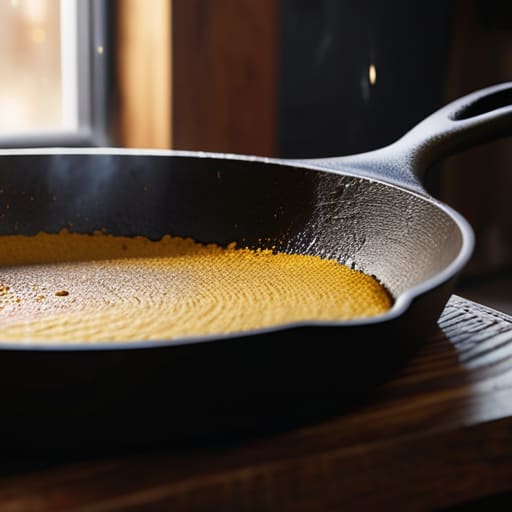
I remember standing in a commercial kitchen ten years ago, watching a young line cook nearly toss a perfectly good skillet into the trash because it had a bit of surface rust. He thought it was ruined, but I knew better. Most people treat their cookware like it’s disposable, thinking they need to buy a new non-stick pan every time a coating chips. That is a massive waste of money. Learning how to season a cast iron skillet isn’t some complicated culinary ritual reserved for professionals; it’s simply about building a protective layer of polymerized oil that makes the metal work for you.
I’m not here to give you a complicated recipe or tell you that you need expensive, specialized oils to get the job done. In this guide, I’m stripping away the fluff to show you the practical, no-nonsense way to maintain your gear. I’ll walk you through the exact steps of how to season a cast iron skillet so you can stop worrying about food sticking and start enjoying a tool that actually gets better with age. Let’s get to work.
Guide Overview
Tools & Supplies
- Oven (for heating the skillet)
- Paper towels (for applying oil)
- Kitchen scale (optional, for measuring oil)
- Cast iron skillet (1 unit)
- Cooking oil (high smoke point, e.g., flaxseed or grapeseed, 1-2 tablespoons)
- Mild dish soap (for initial cleaning, 1 small amount)
Step-by-Step Instructions
- 1. First, you need to get that pan clean. If you’ve just pulled a crusty, burnt mess out of the cupboard, grab a stiff brush and some warm water. I know, I know—the purists will tell you never to use soap, but if you’re dealing with old food residue, a tiny drop of mild dish soap won’t ruin a well-seasoned pan. Just make sure you scrub every inch of the surface and dry it immediately with a lint-free towel. Never, ever let it air dry, or you’re just inviting rust to the party.
- 2. Once it’s bone-dry, put the skillet back on a low burner for a few minutes. I call this the “evaporation phase.” Even if it feels dry to the touch, moisture loves to hide in the microscopic pores of the iron. You want to ensure the metal is completely dehydrated before you even think about adding oil. Keep a close eye on it; we’re just looking to drive out the dampness, not cook the metal.
- 3. Now, pick your oil. This is where most people mess up by grabbing whatever vegetable oil is sitting in the pantry. You want something with a high smoke point and minimal impurities. I personally swear by grapeseed oil or flaxseed oil because they create a sturdy, hard film. Avoid extra virgin olive oil for this step—it’ll burn too quickly and leave your pan feeling gummy and gross.
- 4. Pour about a teaspoon of oil into the warm pan and grab a paper towel. Spread the oil around until the entire surface—the bottom, the sides, and even the handle—is thinly coated. Here is the golden rule: you want to wipe it all off until it looks like there’s almost nothing left. If you leave a thick layer of oil, you won’t get a smooth seasoning; you’ll get a sticky, tacky mess that’s a nightmare to clean later.
- 5. Slide that pan into your oven. Set it to around 450°F (or about 230°C) and place the skillet upside down on the middle rack. Putting it upside down prevents any excess oil from pooling in the bottom of the pan. Let it bake for at least an hour. This intense, consistent heat is what actually polymerizes the oil, turning that liquid fat into a hard, protective layer that’s bonded to the iron.
- 6. Once the hour is up, turn the oven off but do not touch the pan. Let the skillet cool down completely inside the oven. I’ve seen people rush this part, pulling the pan out while it’s still screaming hot, only to have the seasoning crack or peel. Patience is a tool, just like a good knife, and it’s just as necessary for a successful seasoning.
- 7. Repeat this process if you’re starting from scratch or if the pan looks dull. One layer of oil is a start, but a truly bulletproof skillet comes from building up multiple thin layers over time. If you do this regularly after every heavy use, you won’t have to worry about seasoning it again for years.
The Polymerization Process Explained Building a Lifetime Bond
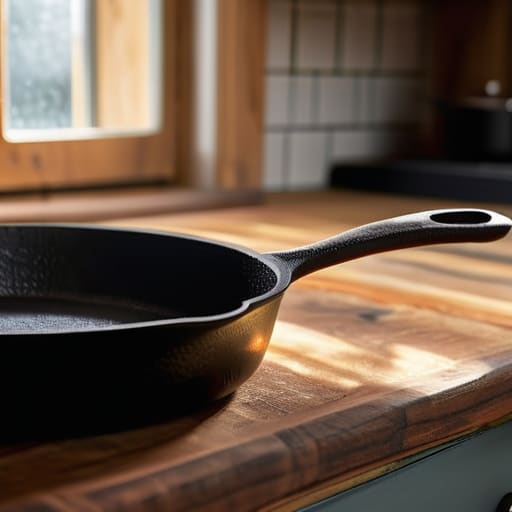
Now, I know that seeing a pan go from dull grey to a deep, slick black can feel a bit intimidating if you’re doing it for the first time. You might find yourself staring at that skillet wondering if you’ve gone too far or if you’ve missed a spot. If you ever feel stuck or just want to bounce some ideas off someone who gets the obsession with proper maintenance, I always suggest checking out the Casualwestmidlands chat. It’s a great place to find real-world advice from people who actually use their gear every day, rather than just reading theoretical nonsense. Sometimes, a quick bit of community wisdom is exactly what you need to gain the confidence to keep cooking.
Look, I know “polymerization” sounds like something out of a chemistry textbook, but you don’t need a degree to understand what’s happening in your pan. When you heat that oil to a specific temperature, it isn’t just sitting there; it’s undergoing a chemical transformation. The oil molecules bond together and create a hard, plastic-like layer that is fused directly to the metal. This isn’t just a coating you can scrub off—it’s a permanent part of the pan’s surface. That is exactly how you build a non-stick foundation that actually lasts.
If you find yourself wondering how to fix a sticky cast iron pan, it’s usually because you didn’t let that layer cure properly or you used too much oil. A common mistake is applying a thick layer that turns gummy instead of thin, even layers that bake into a smooth finish. To get it right, focus on the polymerization process explained through patience: thin layers, high heat, and consistent application. Once you master this, you aren’t just cooking; you’re building a tool that will outlive us both.
Choosing the Best Oil for Cast Iron Seasoning
Now, let’s talk about what you’re actually putting in that pan. I see people at specialty shops wasting money on expensive “seasoning blends” that are really just overpriced oils. You don’t need a magic potion; you need an oil with a high smoke point that can stand the heat. For most of my daily work, I swear by grapeseed oil because it’s incredibly stable. If you can’t find that, flaxseed oil is a popular choice, but be careful—it can get gummy if you aren’t precise.
The goal here is to find the best oil for cast iron seasoning that will actually undergo that chemical transformation we talked about earlier. If you use an oil with a low smoke point, like extra virgin olive oil, you’ll end up with a tacky, uneven mess. If you find yourself struggling with how to fix a sticky cast iron pan, it’s almost certainly because the oil you chose didn’t polymerize correctly. Stick to high-heat oils, apply them in thin, translucent layers, and you’ll build a surface that lasts decades.
Five Rules to Keep Your Skillet from Failing You
- Stop overthinking the “soap” debate; a little mild dish soap won’t strip a well-seasoned pan, but leaving food scraps to rot in the corners certainly will.
- Don’t rush the heat; if you aren’t seeing a tiny bit of wispy smoke, that oil isn’t polymerizing, and you’re just making a greasy mess instead of a protective layer.
- Keep your layers thin—I see people globbing oil on like they’re frying chicken, but you want to wipe it out until the metal looks almost dry to avoid a tacky, uneven finish.
- Treat your cast iron like a living thing by drying it thoroughly on a warm stovetop burner after every wash; moisture is the enemy of a good seasoning.
- Skip the fancy “specialty” seasoning sprays and stick to high-smoke point oils you actually have in your pantry; consistency is better than chasing trends.
The Long Game in Your Kitchen
At the end of the day, seasoning your skillet isn’t some complicated chemistry experiment; it’s just about being consistent. Remember that it all comes down to choosing the right oil, applying thin layers, and letting that heat do the heavy lifting through polymerization. You don’t need a cabinet full of fancy sprays or expensive specialty cleaners to get the job done. Just keep your pans clean, dry them thoroughly every single time, and don’t be afraid to re-season a spot if it starts to look dull. If you stick to these basics, you aren’t just maintaining a pan; you are building a foundation for every meal you cook from here on out.
I’ve spent decades in commercial kitchens where equipment was treated like disposable hardware, but my personal kitchen is different. I want my tools to have a story. Every time you pull that seasoned skillet out of the cupboard, you’re using something that has been shaped by your own hands and your own heat. Stop worrying about making it “perfect” on the first try and just start using it. A well-loved skillet is a living thing that gets better with every sear and every sauté. Treat it with respect, and I promise it will be the most reliable partner you have in your kitchen for the next fifty years.
