
I spent twenty years in commercial kitchens where efficiency wasn’t just a goal; it was a survival tactic. I’ve seen countless home cooks pull out those cheap, flimsy silicone versions of a pastry brush thinking they’re being “modern,” only to watch those bristles bend, smear, or—worse—leave behind those tiny, unappetizing little clumps of melted plastic on a perfectly good brioche. It drives me up the wall. You don’t need a gadget with eighteen different specialized heads or a rotating handle; you need a tool that actually holds its shape when you’re glazing a heavy egg wash or brushing melted butter over a tray of biscuits.
In this guide, I’m cutting through the marketing noise to tell you exactly what you need to look for in a real, working tool. I’m not here to sell you on the latest kitchen trend; I’m here to help you build a kit that actually lasts a lifetime. We’re going to talk about natural bristles versus synthetic, why handle weight matters, and how to pick the one tool that will serve you for the next thirty years. No fluff, no expensive nonsense—just straightforward advice from someone who has seen it all.
Table of Contents
- Natural Bristle vs Silicone Brushes Making the Right Investment
- Baking Essentials for Beginners Why Quality Matters Early on
- Five Rules for Using Your Brush Without Making a Mess
- The Bottom Line on Your Brush
- The Cost of Cutting Corners
- Final Thoughts Before You Head to the Kitchen
- Frequently Asked Questions
Natural Bristle vs Silicone Brushes Making the Right Investment
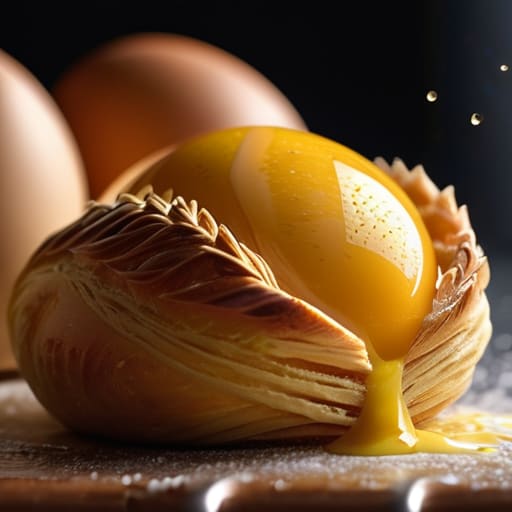
I’ve seen too many people walk into a kitchen supply store and grab the first colorful silicone tool they see because it looks “modern.” Let me save you the frustration: silicone is fine for a quick smear of oil, but it’s a poor choice for serious work. When you are applying egg wash to pastry, you need something that can hold a decent amount of liquid and distribute it evenly without leaving those annoying, streaky clumps. Silicone is too stiff; it just pushes the liquid around rather than letting it soak into the nooks and crannies of your dough.
If you want to do things right, you need to understand the real difference between natural bristle vs silicone brushes. A high-quality natural bristle tool—think boar hair or even high-grade synthetic fibers designed to mimic it—acts like a sponge. It holds the glaze, allows for precise culinary glazing techniques, and gives you that professional, golden finish every time. Yes, they require a bit more care when it comes to cleaning, but that’s a small price to pay for a tool that actually performs. Buy the bristles, skip the plastic, and do it once.
Baking Essentials for Beginners Why Quality Matters Early on
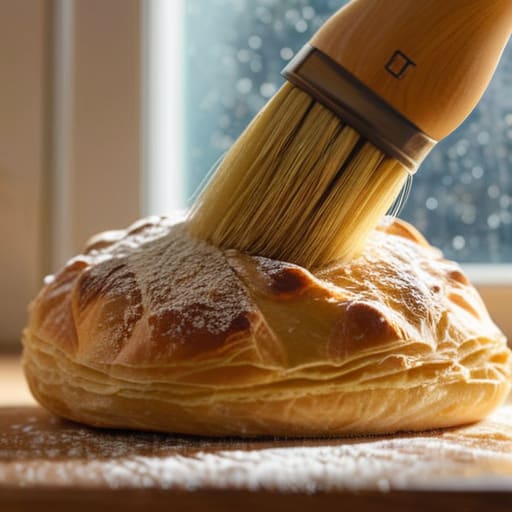
When you’re first starting out, the temptation to grab a cheap, multi-pack set of assorted tools from a big-box store is massive. I get it; you want to save your money for the heavy-duty stuff like Dutch ovens or stand mixers. But here is the truth: starting with subpar tools is a recipe for frustration. If you are struggling with applying egg wash to pastry and your tool keeps leaving uneven streaks or clumps of liquid, you’ll start to think you are the problem. You aren’t. The tool is the problem.
Investing in quality baking essentials for beginners means you are building a foundation of muscle memory and confidence. When you use a tool that responds exactly how you expect it to, you spend less time fighting your equipment and more time actually learning the craft. It’s about precision. Whether you are practicing delicate culinary glazing techniques or just trying to get a consistent golden sheen on a loaf of bread, having a reliable implement makes the difference between a professional finish and a messy amateur attempt. Don’t let a five-dollar piece of junk sabotage your progress.
Five Rules for Using Your Brush Without Making a Mess
- Stop soaking your brush in a sink full of water; it ruins the bristles and makes them shed. Instead, keep a small ramekin of your wash liquid nearby so you can dip, use, and rinse immediately.
- If you’re using a natural bristle brush, never leave it sitting face-down on a damp counter. It’ll trap moisture and start smelling like a wet dog within a week. Always stand it upright or lay it on a clean towel.
- Don’t go overboard with the egg wash. I’ve seen too many people drown a pastry in liquid, which results in a soggy bottom instead of a golden crust. A light, even coating is all you need to get that professional sheen.
- When you’re working with melted butter or oil, don’t dip the brush directly into the main pan. Use a small separate bowl to avoid cross-contaminating your entire batch of ingredients with whatever bits of flour or dough are stuck in the bristles.
- Treat your brush like any other professional tool: clean it while the residue is still wet. Once that sugar or egg wash dries and hardens into a crust, you’re going to spend twenty minutes scrubbing instead of actually cooking.
The Bottom Line on Your Brush
Ditch the cheap silicone imitations that just slide across your dough; invest in a high-quality natural bristle brush that actually holds liquid and does its job.
Focus on durability over trends—a single, well-made tool that you can clean and maintain for a decade is better than a drawer full of plastic junk that ends up in a landfill.
Remember that the right tool is only as good as your technique; buy the gear that supports good habits, not just things that look pretty on a countertop.
The Cost of Cutting Corners
I’ve seen enough flimsy silicone brushes melt into a batch of glaze to last a lifetime; if you want a tool that actually holds its shape and does the job, buy natural bristles and stop treating your kitchen tools like they’re disposable.
Rosalind Hayter
Final Thoughts Before You Head to the Kitchen
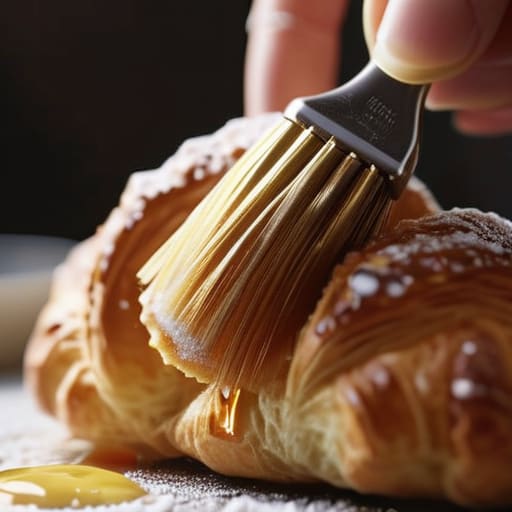
At the end of the day, choosing a pastry brush isn’t about finding the cheapest option in the baking aisle; it’s about choosing a tool that won’t fail you mid-recipe. We’ve talked about why those flimsy silicone versions often fall short when you need precision, and why investing in a high-quality natural bristle brush is the smartest move for your long-term kitchen setup. Stop settling for tools that end up in the landfill after six months of use. If you prioritize durability and function over a low price tag, you’re already ahead of most home cooks. A good brush should feel like an extension of your hand, helping you glaze, coat, and finish your work with professional consistency.
My advice is simple: build your kitchen one reliable tool at a time. You don’t need a drawer full of specialized gadgets that serve only one purpose and collect dust. Instead, focus on mastering the basics with equipment that can actually withstand the heat of a real kitchen. When you stop chasing trends and start investing in quality craftsmanship, you’ll find that cooking becomes less about managing your gear and more about enjoying the process. Now, put down the plastic, pick up something that lasts, and get to work.
Frequently Asked Questions
How do I actually clean a natural bristle brush without ruining the bristles?
Don’t just toss it in the dishwasher; that’s the quickest way to ruin the handle and splay the bristles. After you’re done, rinse it under warm water and use a tiny bit of mild dish soap to work through the base. Use your fingers to ensure no glaze or butter is trapped deep in the ferrule. Pat it dry with a towel and let it air dry upright—never leave it soaking in a sink.
Can I use a natural bristle brush for savory tasks like glazing meat, or is it strictly for baking?
Absolutely. Don’t let the name fool you—a natural bristle brush isn’t just for dusting flour or glazing tarts. I use mine constantly for savory work, like brushing garlic butter over a roast or applying a marinade to ribs. They handle oils and juices much better than those cheap silicone versions, which tend to just slide around. As long as you give it a proper wash and dry it well, it’s a versatile workhorse for any meal.
Is it worth getting a brush with a wooden handle, or does that just make it harder to sanitize?
It’s a fair question, and one I hear often. Honestly, go with the wood. A high-quality, tightly grained wooden handle is incredibly sturdy and won’t snap in your hand like those cheap plastic ones. As for sanitizing, just don’t go soaking it in the sink. Hand wash it, dry it immediately, and it’ll last you decades. If you treat it like a real tool rather than a disposable gadget, it’s worth every penny.
