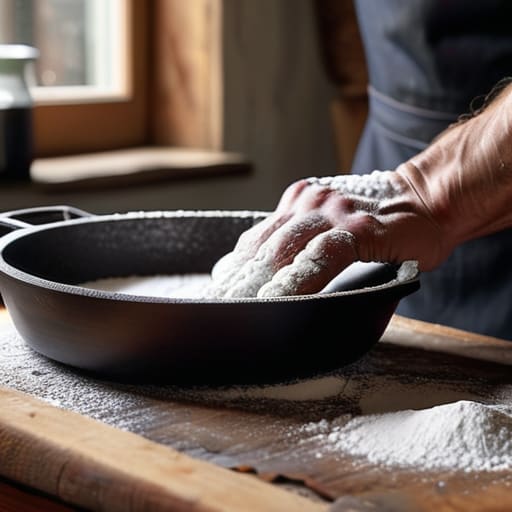
I was halfway through searing a thick ribeye last Tuesday when my heart nearly stopped—the skillet handle gave a sickening, microscopic wobble right as I went to move the pan. It’s that split second of pure panic when you realize your most reliable tool might actually be a safety hazard. Most people think a loose or uncomfortable handle means it’s time to toss the pan and buy a new, trendy non-stick set, but that is a complete waste of money. In my twenty years of managing commercial kitchens, I’ve learned that a heavy-duty skillet is meant to be repaired, not replaced.
I’m not here to sell you on some fancy, over-engineered gadget or a kitchen overhaul you don’t need. Instead, I’m going to show you exactly how to diagnose a failing skillet handle and fix it so it stays secure for the next thirty years. We’ll walk through the practical steps of tightening rivets, managing heat conduction, and even how to wrap a handle if you’re dealing with a vintage piece that’s lost its grip. My goal is simple: I want you to have a kitchen that works for you, with tools that feel as solid as they did the day you bought them.
Table of Contents
- Step-by-Step Instructions
- The Truth About Cast Iron Skillet Repair vs Replacement
- Choosing Ergonomic Cookware Grips for Better Kitchen Habits
- Five Ways to Keep Your Skillet Handles From Becoming a Safety Hazard
- The Bottom Line on Keeping Your Skillet Functional
- ## A Tool is Only as Good as Your Grip
- Final Thoughts on a Solid Foundation
- Frequently Asked Questions
Guide Overview
Tools & Supplies
- Drill with bits for creating pilot holes
- Screwdriver or hex key for fastening
- Sandpaper for smoothing edges
- Wooden handle blank (1 unit)
- Heavy-duty screws or rivets (2-4 units)
- Wood glue or epoxy (1 small bottle)
Step-by-Step Instructions
- 1. First, clear your workspace and grab a sturdy, flat surface. You’ll need a good light source too, because you can’t fix what you can’t see. Take a close look at where the handle meets the body of the skillet. If it’s a wooden handle, check for cracks or deep splits; if it’s cast iron, look for any visible fractures or areas where the metal feels thin and flaky.
- 2. If you’re dealing with a wooden handle that has become loose or wobbly, you’ll need to remove it entirely. Use a screwdriver or a small mallet to gently tap out the existing pins or screws. Be careful not to force it too hard, or you might chip the iron surrounding the attachment point. Once it’s off, take a moment to inspect the screw holes for any signs of rot or splintering.
- 3. Sanding is your best friend here. If the handle is still structurally sound but feels rough, gummy, or unhygienic, use a fine-grit sandpaper to smooth it down. I always recommend starting with a medium grit and working your way up to a very fine one. You want to strip away that old, dirty finish until you reach fresh, clean wood that feels smooth under your palm.
- 4. Before you reattach anything, clean the metal junction thoroughly. I use a stiff nylon brush and a little bit of warm, soapy water to get rid of any old grease or carbon buildup trapped in the crevices. If you leave old oil in there, your new handle won’t sit flush, and you’ll be right back where you started with a shaky, dangerous tool. Dry it completely with a lint-free cloth before proceeding.
- 5. When it comes to reassembly, don’t just tighten those screws until your knuckles turn white. If you’re using wooden pins, make sure they are properly seated. If you’re using screws, I suggest using a food-safe wood glue or a tiny bit of specialized epoxy if the holes have widened over the years. This ensures the connection is rock solid and won’t wiggle the next time you’re lifting a heavy pan of searing steak.
- 6. Once everything is tightened and set, it’s time to protect your work. If you’ve sanded a wooden handle, rub it down with a high-quality, food-grade mineral oil. This isn’t just for looks; it penetrates the grain to prevent the wood from drying out and cracking. Let it soak in for a few hours, then wipe off the excess with a clean rag.
- 7. Finally, perform a “stress test” before you ever put this pan on a hot burner. Hold the skillet by the handle and give it a gentle, firm shake over a sink. If you feel even the slightest bit of play or movement, stop immediately. It’s much better to spend another twenty minutes re-securing the hardware now than to have a heavy pan slip out of your hand while you’re mid-cook.
The Truth About Cast Iron Skillet Repair vs Replacement
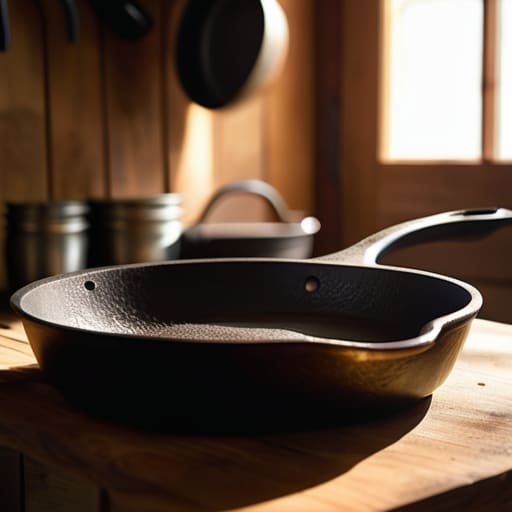
I’ve seen it happen a dozen times in professional kitchens: someone gets frustrated by a cracked or wobbly grip and immediately tosses the whole pan in the bin. Please, don’t do that. Most people think a faulty handle means the end of the road, but in my experience, cast iron skillet repair is almost always more viable than buying a new piece of heavy metal. Unless the actual body of the pan is cracked or warped from extreme temperature shocks, the tool is still worth saving.
If you’re dealing with a handle that’s simply uncomfortable or too hot to touch, you don’t need to replace the pan; you just need better heat-safe kitchen accessories. I often suggest high-quality silicone handle covers for those who find traditional metal grips a bit too punishing on the hands. They provide a much better grip and take the edge off the heat without interfering with the pan’s performance. My rule of thumb is simple: if the weight is still balanced and the seasoning is intact, fix the connection, don’t ditch the tool.
Choosing Ergonomic Cookware Grips for Better Kitchen Habits
If you’ve spent any time in a professional kitchen like I have, you know that hand fatigue is a real thing. When you’re moving heavy pans from the stovetop to the oven, a poorly designed grip can turn a simple meal into a literal pain in the wrist. I’m a big believer in investing in ergonomic cookware grips that actually fit the natural contour of your hand. It isn’t just about comfort; it’s about control. If you can’t get a secure, stable hold, you’re asking for a spill, and that’s when accidents happen.
Now, I’m usually the first person to tell you to skip the cheap gadgets, but there is a practical middle ground here. If you have a vintage piece with a handle that feels a bit thin or gets too hot, high-quality silicone handle covers are a sensible addition to your toolkit. Just make sure you aren’t masking a structural issue that requires actual repair. I want your tools to be an extension of your hands, not something you have to fight against every time you want to sear a steak.
Five Ways to Keep Your Skillet Handles From Becoming a Safety Hazard
- Check your rivets every single time you pull the pan off the heat. If you see any movement or a gap forming between the handle and the body, stop using it immediately; a heavy pan with a loose connection is a recipe for a kitchen accident.
- Never, and I mean never, use a metal scraper or a harsh abrasive on a wooden handle. You’ll strip the finish and leave the wood porous, which makes it impossible to clean and eventually leads to cracking.
- If you’re dealing with a cast iron handle that feels too hot, don’t reach for a flimsy silicone sleeve that’ll just slide off. Invest in a thick, high-quality leather wrap or just get into the habit of using a proper dry towel.
- Keep an eye on your oven-safe handles when buying new gear. If the handle is plastic or a cheap composite, don’t assume it can handle a high-heat sear or a trip into the oven; always verify the temperature rating before you commit.
- Sand down any splinters on wooden handles early. If you feel a rough patch while you’re prepping, grab some fine-grit sandpaper and smooth it out before the wood gets more damaged or, worse, catches on your skin.
The Bottom Line on Keeping Your Skillet Functional
Don’t throw away a heavy piece of cookware just because the handle feels off; most issues can be fixed with a bit of maintenance or a solid replacement part.
Prioritize durability and grip over aesthetics—a handle that’s comfortable and secure is worth far more than a trendy design that’s hard to hold when things get hot.
Invest in high-quality tools that can be repaired, because skipping the “disposable” mindset is the only way to build a kitchen that actually works for you.
## A Tool is Only as Good as Your Grip
I’ve seen enough commercial kitchens to know that a beautiful pan is useless if you’re fighting it every time you move it from the stove to the table; a secure, reliable handle isn’t a luxury, it’s the difference between a kitchen that flows and one that feels like a chore.
Rosalind Hayter
Final Thoughts on a Solid Foundation
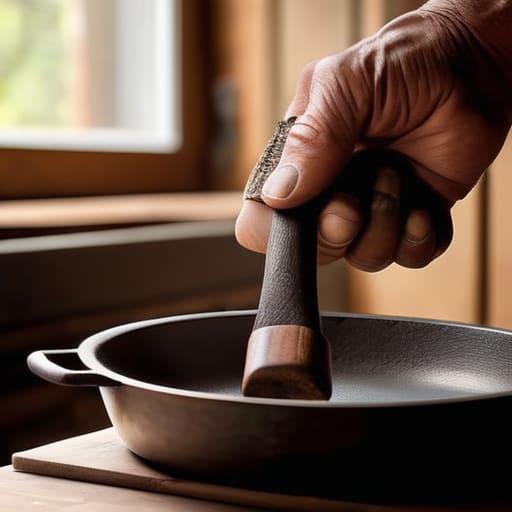
At the end of the day, a skillet handle is more than just a piece of metal or wood; it is your primary connection to the tool that feeds your family. Whether you are tightening a loose rivet, replacing a cracked wooden grip, or deciding if a piece of cookware is finally beyond saving, the goal is always the same: safety and stability. Don’t let a minor mechanical issue turn into a dangerous accident in a hot kitchen. By taking a few minutes to inspect your gear and making the necessary repairs, you ensure that your tools remain as reliable as the habits you’ve built around them. It’s about maintaining what you own rather than constantly cycling through disposable replacements.
I’ve spent enough years in commercial kitchens to know that the best tools aren’t the ones that look the prettiest on a shelf, but the ones that work perfectly every single time you pick them up. A well-maintained skillet is a lifelong companion, and a sturdy handle is what makes that partnership possible. Stop chasing the latest kitchen gadget craze and start investing your energy into the quality of your essentials. When you treat your tools with respect, they reward you with decades of service. Now, grab your notebook, check your drawers, and make sure your gear is actually ready to work.
Frequently Asked Questions
Is it safe to use a skillet if the handle feels slightly loose, or is that a sign it's about to snap?
If that handle is wobbling, stop what you’re doing and get it off the heat. In a professional kitchen, a loose handle is a red flag, not a minor annoyance. It might not snap this second, but once it fails mid-sear, you’re looking at a serious burn or a mess of hot oil on your floor. Don’t gamble with your safety. Tighten it up or fix it properly before you even think about cooking again.
Can I use metal tools to tighten a loose handle, or am I going to risk cracking the iron?
You can use metal tools, but you have to be careful. I’ve seen too many people go at it with a heavy-duty wrench and end up snapping the iron clean off. Cast iron is incredibly strong under heat, but it’s brittle when you apply sudden, uneven pressure. Use a standard screwdriver or a small wrench, and tighten it in small, controlled increments. If you feel any resistance, stop. Don’t force it; you’re looking for snug, not crushed.
If I decide to replace a handle on a vintage pan, how do I know if the metal is still structurally sound enough to hold the weight?
Before you even think about swapping a handle, you need to check for hairline cracks. Take a bright light and inspect the area around the old mounting point. If you see any spiderwebbing or deep pitting in the metal, stop right there. A crack means the integrity is gone, and no new handle will fix a failing base. If the metal feels solid and uniform, you’re good to proceed. If not, it’s time to retire it.
