I spent twenty years in commercial kitchens where space was a premium and every second counted, so nothing irritates me more than seeing a countertop cluttered with “specialty” gadgets that do one thing poorly. I’ve seen too many people buy a massive, expensive food processor just to make a quick batch of butternut squash soup, only to realize they’re left with a mountain of dishes and a machine that’s too heavy to even lift. If you want to master proper immersion blender use, you need to stop treating it like a secondary toy and start treating it like the workhorse it actually is.
I’m not here to sell you on some fancy, high-tech model with twenty different attachments you’ll never touch. Instead, I’m going to show you how to use a single, sturdy tool to transform your cooking without the unnecessary mess. We’re going to talk about the actual mechanics of blending—how to avoid the dreaded air bubbles and how to get a perfectly smooth texture every single time. I promise to give you the straight talk on what works, what doesn’t, and how to make your kitchen tools actually work for you.
Table of Contents
Immersion Blender vs Traditional Blender Choosing Lasting Utility
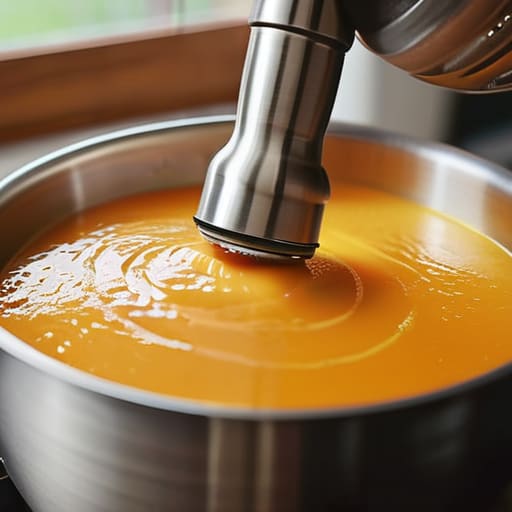
I see people cluttering their cabinets with massive, heavy countertop blenders that they only pull out twice a year. Unless you’re making a massive batch of nut butter or need to pulverize ice into snow, that bulky machine is just taking up precious real estate. When you’re weighing the pros and cons of an immersion blender vs traditional blender, you have to look at your actual workflow. A traditional blender is a beast for high-volume, heavy-duty tasks, but it’s a nightmare to clean and requires you to transfer hot liquids into a narrow jar—which is a recipe for a burn.
For most of my clients, I recommend the stick blender because it offers much better control over texture. If you’re looking into smooth soup making techniques, being able to blend directly in the pot is a game-changer. It saves you from washing a giant pitcher and keeps the steam contained. You get a more surgical precision with a hand blender, allowing you to target specific areas of a sauce or puree without the mess. It’s about choosing the tool that fits your actual habits, not the one with the most bells and whistles.
Smooth Soup Making Techniques for the Disciplined Cook
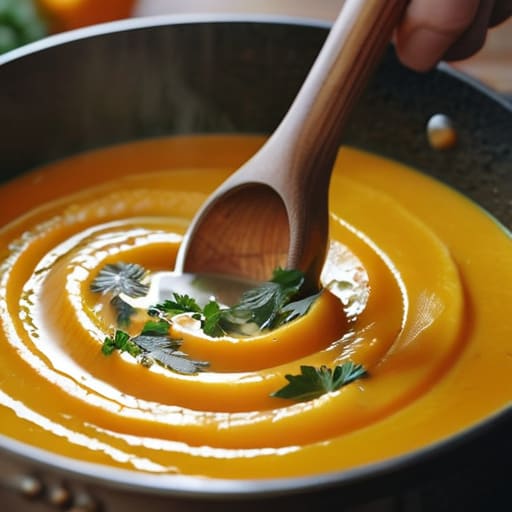
When you’re making a batch of butternut squash or roasted tomato soup, don’t bother transferring hot liquid into a traditional blender; it’s a recipe for a steam explosion and a massive mess. Instead, keep the pot on the stove and work directly in the vessel. Start by submerging the head of the blender completely before turning it on. If you don’t, you’ll just spray hot liquid all over your backsplash. I always tell my clients that the secret to smooth soup making techniques is to tilt the wand slightly to create a gentle vortex, ensuring every chunk of vegetable gets pulled into the blades.
Once you’ve achieved that silky texture, don’t let the cleanup become a chore. To make cleaning an immersion blender a five-second task, fill your pot with a bit of warm, soapy water immediately after you’re done. Run the tool in the suds for a few seconds, then rinse it under the tap. It’s much more efficient than letting residue dry and harden against the blades, which is a mistake I see even experienced home cooks make.
Five Rules for Getting the Most Out of Your Wand
- Don’t be afraid of the depth. To avoid splashing hot soup all over your backsplash, keep the bell of the blender fully submerged before you hit the power button. If you pull it up too early, you’re just making a mess.
- Work in small batches if you’re using a smaller container. Trying to force a massive amount of liquid through a narrow wand is a recipe for a motor burnout, and I’ve seen enough cheap motors die to know it’s not worth the risk.
- Use the pulse setting to control the texture. If you want a rustic, chunky vegetable puree rather than a perfectly smooth silk, use short bursts of power. You have more control with your finger than you do with a constant stream of electricity.
- Clean it immediately. I’ve learned the hard way that once a starch or a thick sauce dries inside that blade guard, you’ll be scrubbing for twenty minutes. Run it in a container of warm, soapy water for ten seconds right after you’re done.
- Watch your angle. Keep the wand relatively vertical to ensure the blades are pulling the food into the vortex. If you tilt it too far, you’ll just be spinning air around the edges instead of actually processing the ingredients.
Three Rules for a Better Blend
Don’t buy the cheapest plastic model you can find; invest in a heavy-duty wand with a stainless steel shaft that won’t snap or leak after six months of use.
Stop transferring hot liquids to a traditional blender and risking a steam explosion; use your immersion blender directly in the pot to save time and keep your workspace clean.
Master the “pulse and tilt” technique to avoid air pockets and ensure a smooth consistency without overworking the motor.
The Golden Rule of Blending
“Stop treating your immersion blender like a toy and start treating it like a workhorse; if you aren’t blending directly in the pot to save time and minimize the mountain of dishes, you’re working harder than you need to.”
Rosalind Hayter
Stop Overthinking the Tool
At the end of the day, an immersion blender isn’t some fancy gadget meant to sit in the back of your drawer gathering dust. We’ve covered why it beats a bulky countertop blender for quick tasks, how to master those smooth soups without the mess, and why you should invest in a model with enough muscle to handle real ingredients. If you choose a heavy-duty tool and learn the basic mechanics, you’ll find it becomes one of the most efficient pieces of equipment in your kitchen. Don’t let a cluttered counter or a lack of confidence stop you; once you understand the utility of the tool, the workflow becomes second nature.
My advice? Stop looking for the “perfect” kitchen setup and start focusing on the habits that make cooking sustainable. A kitchen is only as good as the tools you actually use and the way you use them. Buy something that feels solid in your hand, learn its limits, and then get to work. You don’t need a cabinet full of single-use plastic junk to make a decent meal; you just need a few reliable essentials and the discipline to use them well. Now, go grab that blender and make something real.
Frequently Asked Questions
How do I stop my immersion blender from splashing hot soup all over my stovetop?
Keep the head of the blender fully submerged before you even think about hitting the power button. Most people make the mistake of starting the motor while the blade is exposed to air, which creates a miniature volcano on your stovetop. Hold it at a slight angle to create a vortex, and work in small batches. Don’t rush it. Slow, controlled movements keep the mess in the pot and off your counters.
Is it safe to use an immersion blender directly in a pan, or will I ruin the motor?
It is perfectly safe to use your immersion blender directly in a pan, provided you aren’t trying to blend something thick enough to stall the motor. The trick is to keep the blade guard submerged; if you lift it halfway out while it’s running, you’ll just spray hot liquid all over your backsplash. Just don’t force it. If the motor starts to strain, stop, let the liquid settle, and work in smaller batches.
How do I clean the blade assembly properly so I don't end up with food trapped in the mechanism?
Don’t let it sit. If you let thick sauces or fibrous greens dry around the base, you’re begging for a mechanical failure. After use, immediately rinse the wand under hot water while it’s still running on low. For a deeper clean, fill your blender jar halfway with warm, soapy water and pulse it for thirty seconds. This flushes the mechanism from the inside out without you having to poke at it with a knife.
