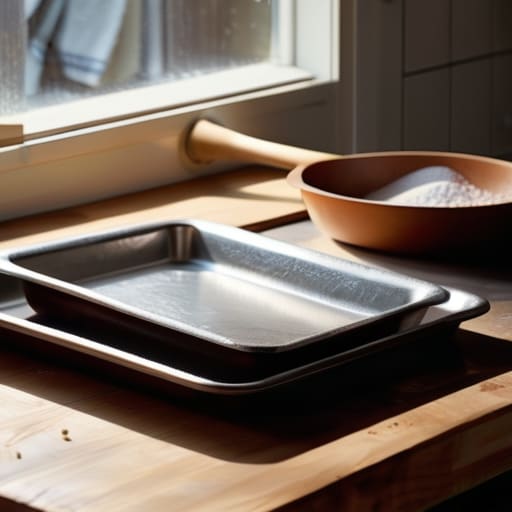
I spent twenty years in commercial kitchens where the equipment was built to be beaten, bruised, and used every single day without complaint. That’s why it absolutely kills me when I walk into a home kitchen and see someone struggling with a flimsy, overpriced, non-stick baking sheet that warps the second it hits a hot oven. You’ve been told you need a specialized pan for every single type of food, but most of that is just marketing nonsense designed to clutter your cabinets and drain your bank account. A pan shouldn’t be a “specialty item”; it should be a reliable workhorse that does exactly what it says on the tin.
I’m not here to sell you on some trendy, gadget-heavy collection of colorful aluminum. My goal is to cut through the noise and show you how to identify a heavy-duty pan that will actually stay flat and cook evenly for the next thirty years. I’ll be sharing my professional standards for what makes a pan worth your hard-earned money, focusing on durability and heat distribution rather than fancy packaging. Let’s get your kitchen sorted with tools that actually work.
Table of Contents
The Best Material for Oven Pans That Last
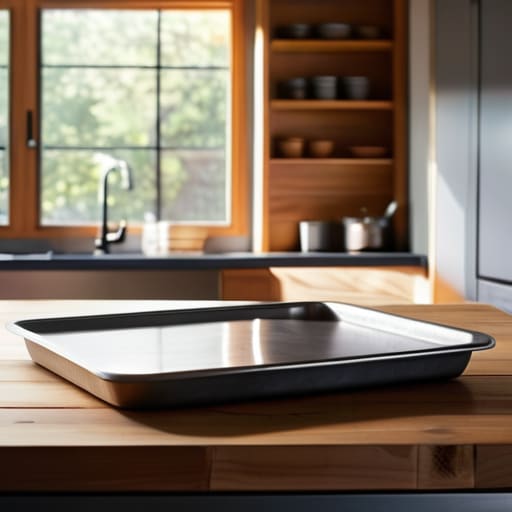
When you’re looking for the best material for oven pans, you have to look past the shiny packaging in the grocery aisle. I’ve seen too many home cooks struggle with thin, aluminum-alloy trays that buckle the second they hit a hot oven. If you want gear that survives a lifetime of heavy use, you need to prioritize weight and heat retention. I always recommend heavy-gauge aluminum or professional-grade stainless steel. Aluminum is a workhorse because it conducts heat quickly and evenly, which is essential if you want consistent results every time you pull something out of the oven.
Now, I know there is a massive temptation to reach for those colorful non-stick baking pans because they promise easy cleanup. Here’s the truth from someone who has managed professional kitchens: that coating is a ticking time bomb. Once it starts to flake or peel, the pan is trash, and you’re right back to square one. Instead, invest in a high-quality, heavy-duty piece of bakeware and learn the art of proper seasoning or using parchment paper. It takes a little more discipline, but it’s the only way to ensure your equipment doesn’t end up in a landfill in two years.
Why Rimmed Baking Sheet Benefits Outweigh Cheap Alternatives
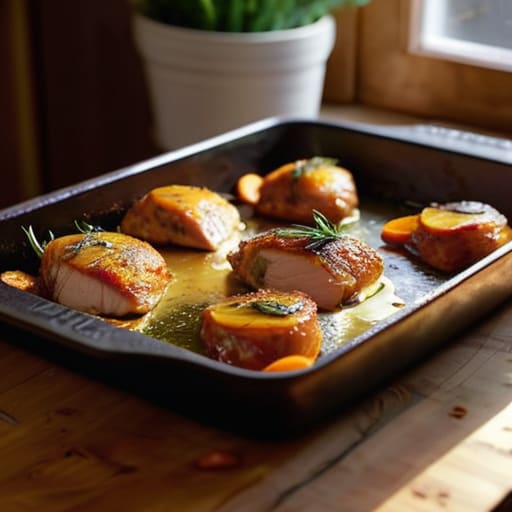
If you’ve ever pulled a tray out of the oven only to find half your juices or oil pooled on the bottom of your oven floor, you know exactly why I’m such a stickler for edges. Those flat, rimless cookie sheets might seem fine for a quick batch of biscuits, but they are a recipe for a mess. The real rimmed baking sheet benefits come down to containment and control. Having a sturdy lip of at least one inch allows you to roast vegetables or proteins without worrying about grease escaping. It turns a simple pan into a vessel for more complex sheet pan dinner ideas, where the juices from the chicken actually flavor the potatoes instead of creating a smoke hazard in your oven.
I also see people constantly swapping out their gear because they bought cheap, thin alternatives that can’t handle the heat. When you invest in heavy-duty bakeware, you aren’t just buying a piece of metal; you’re buying peace of mind. A deep rim provides much better heat distribution for roasting, whereas those flimsy, rimless pans often warp the moment they hit a high temperature. Stick to the heavy stuff—it’s the only way to ensure your kitchen stays functional and your cleanup stays minimal.
5 Ways to Stop Ruining Your Pans (and Your Food)
- Ditch the parchment paper obsession for heavy-duty silicone mats. If you’re constantly peeling off burnt bits of paper, you’re wasting time and money; a good mat stays in the drawer and works every single time.
- Stop overcrowding the pan. I see people trying to cram too many cookies onto one sheet, which drops the oven temperature and leads to uneven, soggy results. Give your food space to breathe so the heat can actually do its job.
- Never, ever put a hot baking sheet directly into a sink full of cold water. I’ve seen too many expensive pans warp into a useless U-shape because someone forgot the basics of thermal shock. Let them cool on the counter first.
- Check your oven’s hot spots before you commit. I always keep my notebook handy to map out where my oven runs hot; if you don’t know your oven’s quirks, even the most expensive pan won’t save a burnt batch of biscuits.
- Invest in a heavy-duty cooling rack to go with your sheets. If you pull a tray out and leave it sitting on a flat counter, the steam gets trapped underneath and turns your crisp crusts into mush. Airflow is everything.
The Bottom Line on Your Next Purchase
Skip the thin, lightweight aluminum pans that warp the second they hit a hot oven; look for heavy-gauge materials that hold their shape and distribute heat evenly.
Always opt for a rimmed design to prevent grease and juices from spilling onto your oven floor—it’s a small detail that saves a massive amount of cleanup time.
View your baking sheets as long-term kitchen infrastructure rather than disposable tools; buying one high-quality pan is cheaper and more efficient than replacing three cheap ones every year.
The Real Cost of Cheap Pans
If you’re still buying those flimsy, paper-thin sheets that warp the second they hit a hot oven, you aren’t saving money—you’re just paying for trash that’s going to end up in a landfill by next season. Buy heavy-gauge steel once, and you’ll never have to worry about unevenly baked cookies again.
Rosalind Hayter
Final Thoughts on Choosing Your Workhorse
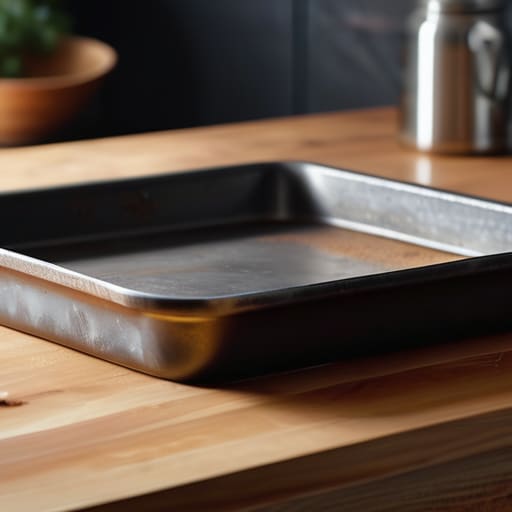
At the end of the day, choosing a baking sheet shouldn’t be a guessing game involving twenty different aisles of shiny, overpriced packaging. We’ve covered why you need to prioritize heavy-gauge materials over those flimsy, thin sheets that warp the second they hit a hot oven. You need a rimmed pan that can actually handle a spill without turning your oven floor into a smoky mess, and you need a material that distributes heat evenly so you aren’t constantly rotating trays to avoid burnt edges. If you stick to the principles of durability and functionality, you won’t find yourself back in the store buying a replacement in six months. Invest in quality once, and you can stop worrying about your gear and start focusing on the food.
I know it’s tempting to grab whatever is on sale or whatever looks “trendy” in a social media ad, but my advice is to stay grounded. A kitchen is meant to be a place of creation, not a graveyard for broken plastic and dented aluminum. When you surround yourself with tools that actually do their job, you build a sense of confidence that carries over into every meal you prepare. Stop chasing the gadgets and start building a foundation of reliable essentials. Once you have the right heavy-duty sheet in your drawer, you’ll realize that good cooking isn’t about how much you spend, it’s about having the right tools to do the job right every single time.
Frequently Asked Questions
How do I tell if a baking sheet is actually heavy-duty or just thick-looking marketing fluff?
Don’t let a glossy box fool you. The real test is the “flex test.” Pick the pan up by the edges; if it bows or feels springy in the middle, it’s junk. A truly heavy-duty sheet should feel substantial and stay perfectly rigid. Also, check the weight. If it feels like a piece of cardboard, it’s marketing fluff. You want something with heft that won’t warp the moment it hits a hot oven.
Is it worth getting a non-stick coating, or am I just setting myself up to replace it in two years?
Look, I’ll give it to you straight: if you buy a non-stick sheet, you’re essentially buying a consumable. No matter how much you pamper it, that coating is going to scratch, flake, or lose its grip eventually. You’ll be back in the store in two years, buying another piece of “disposable” gear. If you want a tool that actually lasts, stick to heavy-duty aluminum. It’s easier to clean than you think, and it won’t fail you.
How often should I actually be seasoning or deep-cleaning my pans to keep them from rusting?
You don’t need to deep-clean them every single day, but you do need to be disciplined. After every use, wash them with warm, soapy water and—this is the part people skip—dry them immediately with a towel. Never let them air-dry in the rack; that’s how rust starts. If you notice the surface looking dull or gray, hit it with a light layer of oil and pop it in a hot oven. Keep it simple.
