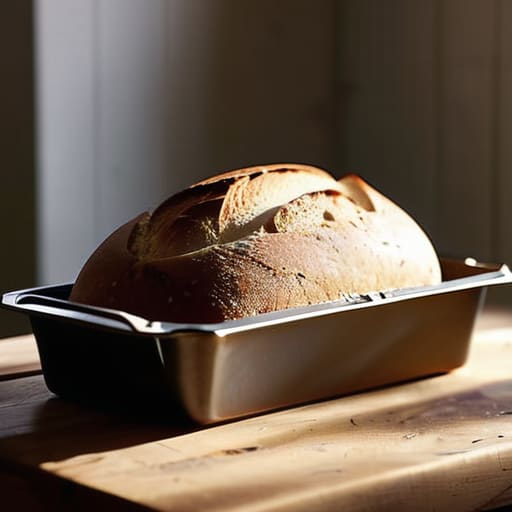
I spent twenty years in commercial kitchens where equipment was judged by one metric: does it do its job every single time? I’ve seen too many home bakers walk into a store and get talked into buying a “designer” silicone or thin-walled aluminum loaf tin that promises the world but delivers a gummy, collapsed mess. It’s infuriating. You don’t need a gadget with a fancy non-stick coating that will flake off into your sourdough in six months; you need thermal mass. If your tin is too light, your bread will never get that deep, even crust we’re all chasing.
I’m not here to sell you on the latest kitchen trend or a piece of colorful plastic junk. My goal is to strip away the marketing fluff and tell you exactly what to look for in a piece of bakeware that will actually last a lifetime. I’ll walk you through the weight, the metal, and the build quality you should demand so you can stop wasting money on disposables and start investing in tools that work as hard as you do.
Ditch the Silicone Loaf Molds for Real Metal
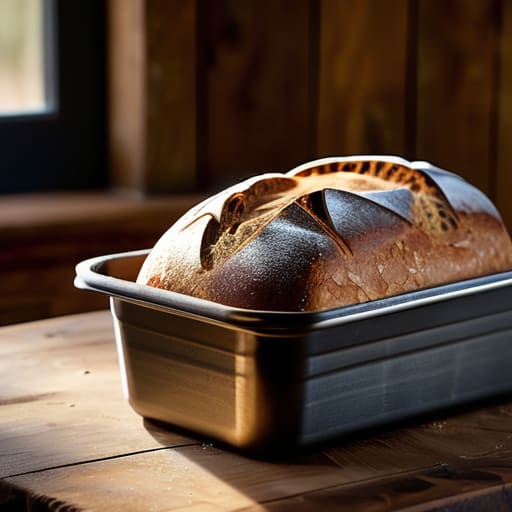
I see them everywhere now—those colorful, floppy silicone loaf molds taking up space in people’s cabinets. Look, I get the appeal; they’re easy to clean and supposedly “indestructible.” But if you actually want a decent crust, you need to move past them. Silicone is terrible at heat distribution. It’s too insulating, which means you end up with a loaf that’s cooked on the outside but feels gummy and underdone in the center. If you’re serious about your bread baking equipment, you need something that actually conducts heat.
Invest in a heavy-duty metal pan instead. A solid steel or aluminum vessel provides the thermal mass necessary to give your dough that professional, even rise. If you’re worried about sticking, don’t reach for a cheap silicone substitute; just use a bit of baking parchment for bread or a light coating of oil. You’ll get a much cleaner release and, more importantly, a crust that has some actual character. Stop settling for mediocre results just because a gadget promised an easy cleanup.
Choosing Bread Baking Equipment That Actually Lasts
When I was managing industrial kitchens, I learned that the longevity of your results is directly tied to the weight of your tools. If you are serious about building a consistent routine, you need to invest in professional-grade bread baking equipment rather than whatever is on the clearance rack at a big-box store. Cheap, thin-walled pans heat unevenly, leaving you with a loaf that is burnt on the bottom but doughy in the center. I always tell my clients: if you can bend it with one hand, it has no business being in your oven.
Instead of chasing every new gadget, focus on the fundamentals. A heavy-duty steel or cast iron pan provides the thermal mass necessary for a proper crust. You also need to consider your specific recipes; for instance, knowing the correct loaf tin dimensions for sourdough is the difference between a beautiful, high-domed boule and a flat, sad pancake. Pair your heavy metal with high-quality baking parchment to ensure easy release without relying on those chemical-laden sprays. Build a kit that relies on density and durability, and you won’t be replacing your gear every single season.
Five Rules for Buying a Tin That Won't Fail You
- Look for heavy-gauge steel or aluminum; if the tin feels light and flimsy in your hand, it’s going to warp the second it hits a hot oven.
- Avoid non-stick coatings if you can help it; they eventually peel and ruin your bread, so stick to well-seasoned metal or use parchment liners.
- Check the rim thickness; a thin, weak rim is a dead giveaway of a cheap manufacturing process that won’t survive a decade of heavy use.
- Match the size to your recipe, not your ambition; a tin that’s too large will result in a flat, sad pancake instead of a proud, structured loaf.
- Prioritize easy-to-clean shapes; avoid overly decorative or overly deep designs that make it a nightmare to scrub out every bit of crusty residue.
The Bottom Line on Your Bread Gear
Skip the lightweight, non-stick silicone molds that warp and heat unevenly; invest in heavy-gauge metal tins that provide the heat retention your crust actually needs.
Look for thickness and weight over brand names—a heavy-duty tin is a one-time purchase that will outlast a dozen cheap, flimsy alternatives.
Remember that the best tool is useless without a routine; buy gear that works with your workflow so you actually enjoy the process of baking.
Stop Chasing Trends and Start Baking Better
At the end of the day, your loaf tin shouldn’t be a piece of equipment you replace every time a new “must-have” gadget hits the market. We’ve covered why you need to ditch those flimsy silicone molds and why investing in a heavy-duty, professional-grade metal tin is the only way to get that consistent, golden crust we all want. Remember, it isn’t about having the most expensive setup; it’s about having the right setup. If you buy a tin that is weighted properly and built from high-quality steel or aluminum, you are essentially buying yourself a lifetime of better bread. Don’t settle for gear that warps or burns unevenly just because it was cheaper at the checkout counter.
I know it can feel overwhelming when you walk into a kitchen supply store and see a thousand different options, but I want you to take a breath and simplify. A kitchen is meant to be a workspace, not a showroom for plastic junk. Once you have your foundational tools—the ones that actually do the work—you can stop worrying about the hardware and start focusing on the art of the craft. Grab your flour, preheat your oven, and trust your tools. You’ve got this, and I promise, the smell of a perfectly baked loaf is worth every cent of that initial investment.
Frequently Asked Questions
How do I know if a tin is heavy-duty enough or just cheap metal with a thin coating?
Here’s the quick test: pick it up. If it feels like a glorified soda can, put it back. A real, heavy-duty tin should have some weight to it; you want something that feels substantial in your hand, not flimsy. Check the bottom, too. If the metal looks paper-thin or the coating seems like it’s just a light spray-on, it’ll warp the first time it hits a hot oven. Look for thickness and heft.
Is it worth getting a non-stick loaf tin, or am I just setting myself up for a peeling mess in a year?
Look, I’ll be blunt: you’re likely setting yourself up for a headache. Non-stick coatings are essentially a ticking clock. Between metal utensils and high-heat scrubbing, that surface will eventually chip or peel, and then you’re left with a mess that’s impossible to clean. If you want something that lasts, go with a heavy-duty aluminized steel tin. It might take a little more butter or parchment paper, but it won’t fail you in twelve months.
How often should I be seasoning my metal tins to keep the bread from sticking?
If you’ve gone with a heavy-duty metal tin, treat it like your favorite cast iron skillet. You don’t need to do it every single time you bake, but if you notice the bread is starting to tug or leave crumbs behind, that’s your cue. I usually give my tins a quick seasoning session every few months, or whenever the surface starts looking dull. A thin layer of oil and a hot oven—it’s simple, effective, and keeps that non-stick surface working for years.
