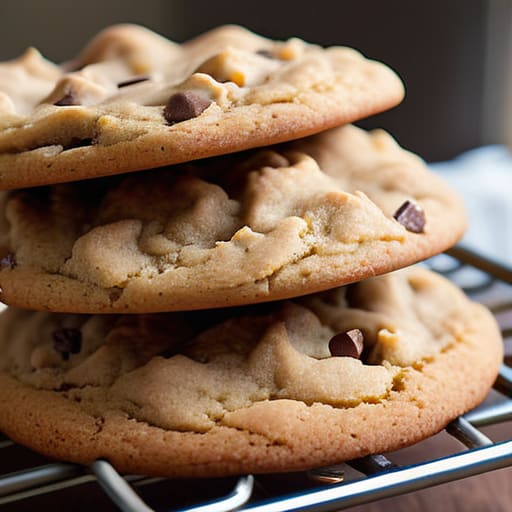
I spent twenty years in commercial kitchens where space was a luxury and every second counted, so I have zero patience for the “gadget creep” that plagues modern home kitchens. I see people spending a fortune on high-tech, multi-purpose baking stations, yet they still end up with soggy bottom crusts because they treat cooling rack utility as an afterthought. Let me tell you, leaving a tray of warm cookies to sit on a flat countertop is just a slow way to ruin your hard work; you aren’t just letting them cool, you’re trapping steam that turns everything limp and unappealing.
I’m not here to sell you some fancy, silicone-coated nonsense that will warp the first time it sees real heat. Instead, I’m going to show you how to select a single, heavy-duty wire rack that will actually last a lifetime and do the job properly. We are going to strip away the marketing fluff and focus on how to use these tools to protect your textures and respect your ingredients. If you want a kitchen that actually works for you, it starts with mastering these fundamental, no-nonsense basics.
Table of Contents
Stainless Steel Wire Racks a Lifetime Investment
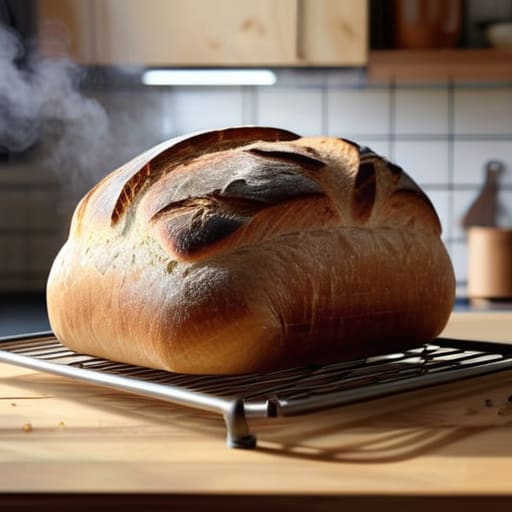
I’ve seen far too many people head to the discount aisle and pick up those flimsy, thin-gauge wire racks that warp the moment they hit a warm surface. If you want to do this right, you need to invest in stainless steel wire racks. Unlike the cheap, coated versions that eventually flake off into your food, high-quality stainless steel is built to withstand years of heat and heavy use without losing its shape. It’s one of those baking equipment essentials that you buy once and never have to replace.
Beyond just durability, the structural integrity of a heavy-duty rack is what actually makes a difference in your results. A sturdy rack allows for consistent convection airflow in baking, ensuring that heat moves freely around your baked goods rather than getting trapped underneath. This is the secret to preventing soggy bottoms on everything from fresh sourdough to delicate shortbread. When the air can circulate properly, you get that professional-grade crispness that a flat surface or a cheap, bending rack simply can’t provide.
Preventing Soggy Bottoms With Proper Airflow
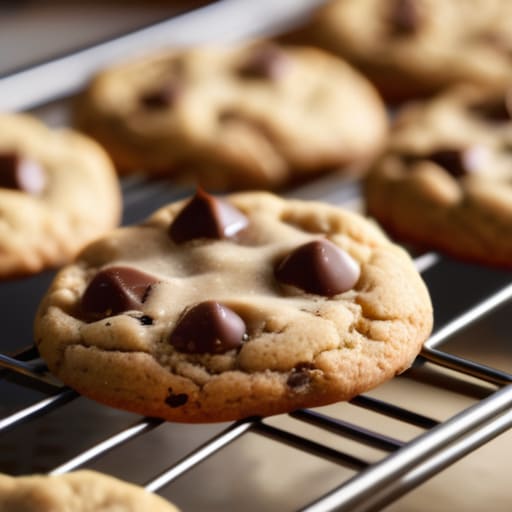
If you’ve ever pulled a batch of golden-brown cookies or a delicate tart out of the oven only to find the underside limp and damp, you’ve fallen victim to trapped steam. When you leave hot baked goods directly on a flat baking sheet, the heat continues to rise from the center, hitting the metal and turning into moisture that gets trapped underneath. This is the fastest way to ruin your hard work. By using stainless steel wire racks, you allow that steam to escape immediately. It’s a simple physics lesson that makes all the difference in your final texture.
Properly managing preventing soggy bottoms is really about mastering convection airflow in baking. As the food cools, the air needs to circulate around every single surface—top, bottom, and sides—to stabilize the structure. If you don’t give that heat a way out, you’re essentially steaming your pastry instead of letting it set. I tell my clients all the time: don’t let your hard work sit in its own humidity. Elevate your goods, let them breathe, and you’ll get that crisp, professional finish every single time.
Five Ways to Actually Use Your Racks (Beyond Just Cooling Cookies)
- Elevate your oven racks for roasting. If you’re cooking a chicken or a tray of root vegetables, place them on a rack inside your baking sheet. It lets the heat circulate under the food so you don’t end up with a pool of grease and a soggy underside.
- Use them as a drip guard for prep work. When you’re slicing lemons or prepping herbs, set a small rack over a tray. It keeps the juices and scraps contained and off your main cutting board, making cleanup much faster.
- Create a makeshift drying station for delicate items. If you’ve just washed something fragile or need to air-dry a small piece of equipment, a wire rack provides the airflow needed to prevent moisture from pooling and causing spots.
- Master the art of the “crusty” bake. When making anything with a crust—from homemade bread to savory galettes—transfer them to a rack immediately. If they sit on a flat baking sheet, the residual steam will turn your hard-earned crust soft in minutes.
- Organize your small-scale drying. I often use my extra stainless racks in the pantry to create “shelving” for small, flat items like spice tins or specialized tools, keeping them upright and visible instead of buried in a drawer.
The Bottom Line on Cooling Racks
Skip the cheap, flimsy plastic versions that warp under heat; buy a heavy-duty stainless steel rack that you can actually rely on for years.
Airflow is non-negotiable—if you aren’t using a rack to let steam escape, you’re essentially guaranteeing your baked goods will turn soggy.
Treat your cooling rack as a foundational tool, not a luxury, because proper temperature regulation is what separates a professional finish from a home-cook mistake.
The Real Cost of Skipping the Basics
You can spend a fortune on organic flour and high-end butter, but if you leave your bread to sit on a flat counter, you’re essentially throwing that money in the bin. A decent cooling rack isn’t a luxury; it’s the difference between a crisp crust and a gummy, disappointing mess.
Rosalind Hayter
The Bottom Line on Cooling
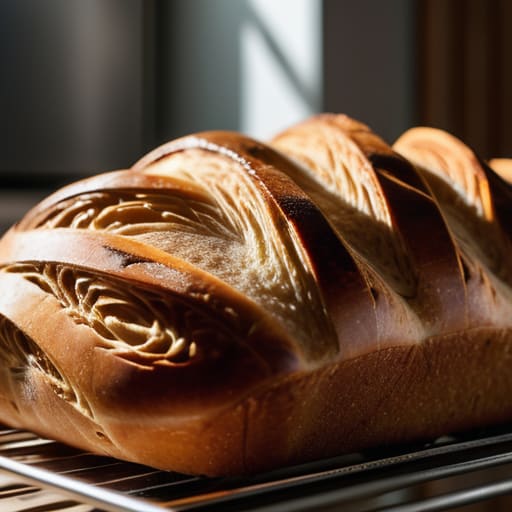
At the end of the day, a cooling rack isn’t just another piece of wire cluttering your drawer; it’s the difference between a professional finish and a disappointing mistake. We’ve talked about why you need to ditch the flimsy, plastic-coated versions for something made of solid stainless steel that won’t warp under heat. We’ve also covered why airflow is non-negotiable if you want to avoid that dreaded, soggy texture in your breads and pastries. If you invest in quality tools and respect the science of temperature regulation, you aren’t just buying a gadget—you are protecting the hard work you put into your recipes.
I’ve seen too many home cooks get discouraged because their hard-earned loaves turned out gummy or their cookies lost their crunch. Don’t let a lack of proper equipment rob you of that satisfaction. A kitchen should be a place of precision and reliability, where the tools you own actually support your skill rather than hindering it. Stop cutting corners on the basics and start building a kitchen that actually works for you. Buy the good stuff once, use it properly, and let your cooking speak for itself.
Frequently Asked Questions
Are there specific types of wire racks I should avoid if I'm worried about my baked goods sticking?
Steer clear of those flimsy, lightweight aluminum racks you see in the bargain bins. They tend to warp under heat, creating uneven surfaces that can snag your delicate pastries. Most importantly, avoid anything with thick, plastic-coated wires. That coating can degrade over time and, more frustratingly, the smooth surface often lacks the structural tension needed to keep your goods stable. Stick to heavy-duty, uncoated stainless steel; it’s predictable, durable, and won’t fight you.
Can I safely use these stainless steel racks in the oven, or are they strictly for countertop cooling?
You can use them in the oven, but you need to be smart about it. If you’re looking to roast vegetables or cook something on a rack inside a sheet pan, a high-quality stainless steel rack is perfect. Just make sure it’s solid steel—no plastic coatings or flimsy finishes that might melt or off-gas. If it’s built to last, it can handle the heat, but always double-check that it’s not a decorative piece meant only for the counter.
How do I know if a rack is heavy-duty enough for larger items like a whole roast or a heavy loaf of sourdough?
Don’t trust a flimsy, lightweight rack if you’re planning on roasting a chicken or setting down a heavy sourdough boule. Give it the “flex test” before you buy: place the rack between two sturdy objects and press down firmly in the center. If it bows or wobbles under moderate pressure, put it back. You want thick, gauge-heavy wire that feels substantial in your hand—something that won’t warp the first time it hits a hot pan.
