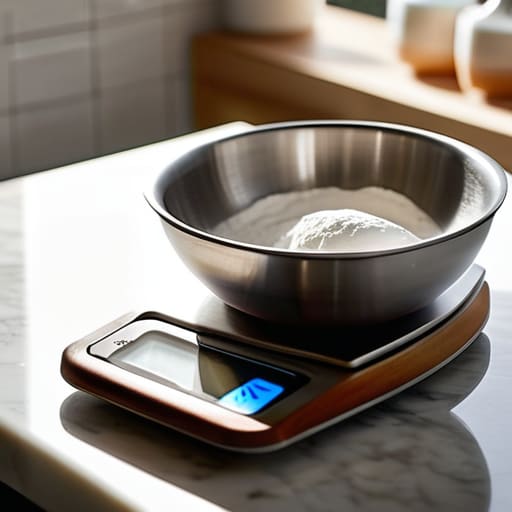
I spent two decades in commercial kitchens where “eyeballing it” was a fast track to a wasted budget and a ruined service. I see people today buying these flashy, over-engineered smart kitchen gadgets that connect to their phones just to tell them how much flour they’re using, and frankly, it’s a waste of good money. You don’t need an app; you just need a heavy-duty digital food scale that does one thing and does it accurately every single time. Most of the “must-have” kitchen tech being pushed on social media is just trendy plastic junk designed to clutter your drawers and drain your wallet.
I’m not here to sell you on a lifestyle or a gadget that will end up in a landfill by next Christmas. My goal is to help you find a reliable, no-nonsense tool that builds better cooking habits and actually lasts. I’ll walk you through exactly what to look for in a scale—from tare functions to battery life—so you can stop guessing and start cooking with professional precision. We’re going to focus on the essentials that make a kitchen functional, not fancy.
Table of Contents
The Truth About Baking Ingredient Accuracy
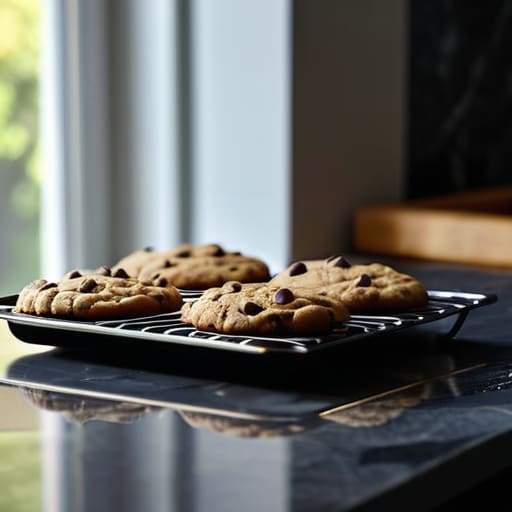
If you’ve ever pulled a tray of cookies out of the oven only to find they’re either rock-hard or spreading into a single, greasy sheet, you’ve likely fallen victim to the “volume trap.” Most people rely on measuring cups, but flour is notoriously fickle; depending on how tightly you pack that cup, you could be adding twenty percent more than the recipe actually calls for. This is where baking ingredient accuracy becomes the difference between a professional result and a costly mistake.
I’ve spent enough time in commercial kitchens to know that professional pastry chefs don’t even touch a measuring cup. They rely on weight because it’s the only way to ensure consistency every single time. When you switch to weighing, you eliminate the guesswork of a messy gram vs ounce conversion or the frustration of unevenly leveled flour. It’s not about being finicky; it’s about respecting the chemistry of your ingredients. Once you stop treating your pantry like a guessing game and start using precision kitchen tools, your kitchen workflow will finally feel as steady as it should.
Mastering the Tare Function Explained for Efficiency
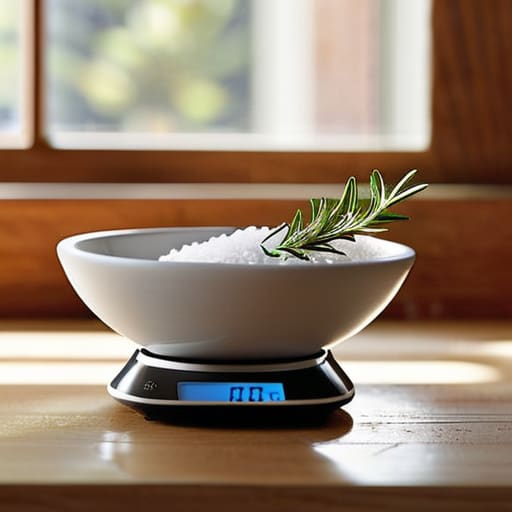
If you aren’t using the tare function, you’re essentially working twice as hard for half the results. In my years managing commercial kitchens, we didn’t waste time washing a dozen different measuring cups just to prep a single sauce. You place your bowl on the platform, hit the tare button to reset the display to zero, and start adding ingredients directly into the vessel. It turns a messy process into a streamlined workflow. This isn’t just about saving time; it’s about accurate portion control and keeping your workspace clear of unnecessary clutter.
Beyond the sheer convenience, mastering this feature is how you achieve real consistency. When you’re layering ingredients—say, flour, then sugar, then cocoa powder—all in one bowl, the tare function ensures you aren’t accidentally adding the weight of the container into your recipe. It’s one of those small, professional-grade habits that separates a chaotic cook from someone who actually knows their way around a countertop. Once you get into the rhythm of zeroing out your equipment, you’ll realize how much mental energy you were wasting on manual measurements.
How to Actually Use Your Scale Without Making a Mess
- Stop the cup-and-spoon shuffle. If you’re still scooping flour into measuring cups, you’re packing it down differently every single time. Use your scale for everything—even liquids—to ensure your results are identical every time you cook.
- Find a flat, stable surface. I’ve seen people try to weigh things on a stack of cookbooks or a wobbly cutting board. If your scale isn’t on a level countertop, those readings are going to drift, and you’ll end up wasting ingredients.
- Watch your battery life. There is nothing more frustrating than being mid-recipe and having your scale die on you. Get a model that takes standard AAA batteries or has a reliable charging port, and don’t wait until the light starts blinking to replace them.
- Don’t overload the capacity. Every scale has a limit, and if you’re trying to weigh a massive five-pound roast on a tiny jewelry scale, you’re going to break the sensor. Check the maximum weight capacity before you start your prep.
- Keep it clean and dry. Most people treat their scales like delicate electronics, but in a real kitchen, they get splashed with oil and flour. Get one with a wipeable surface or a glass top so you can clean it in seconds without ruining the internals.
The Bottom Line on Scaling Up Your Kitchen Habits
Stop relying on volume measurements like cups and spoons; switching to weight is the only way to ensure consistency and stop wasting expensive ingredients.
Invest in a heavy-duty, stainless steel scale rather than a cheap plastic one; you want a tool that survives daily use and won’t lose its calibration in six months.
Use the tare function to streamline your workflow, reducing the mountain of dirty dishes you create by weighing multiple ingredients in a single bowl.
The Real Cost of Guesswork
“Stop treating your ingredients like an afterthought. I’ve seen too many people ruin a perfectly good batch of dough just because they were too lazy to use a scale. If you want professional results, you have to stop measuring by volume and start measuring by weight; it’s the difference between a recipe that works and a recipe that fails.”
Rosalind Hayter
Final Thoughts on Investing in Precision
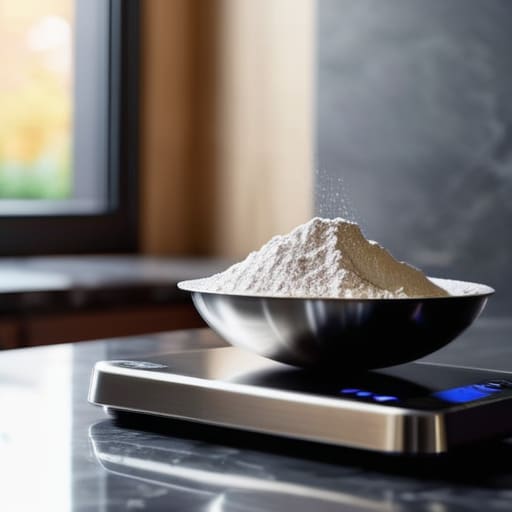
At the end of the day, a digital scale isn’t just another piece of clutter to fight for counter space; it is a fundamental tool for anyone serious about their craft. We’ve talked about why precision is the backbone of consistent baking and how mastering the tare function can turn a messy prep session into a streamlined, professional workflow. By moving away from the inaccuracy of volume measurements and embracing weight, you aren’t just following a recipe—you are taking control of your results. Stop letting a few extra grams of flour or a heavy-handed pour of oil ruin a perfectly good meal.
My advice is simple: don’t go out and buy the cheapest, flimsy plastic model you find on a discount site. Buy one that feels substantial, has a clear display, and is built to withstand the daily grind of a working kitchen. When you invest in quality gear, you are investing in your own growth as a cook. A kitchen should be a place of confidence, not frustration. Once you make the switch to weighing your ingredients, you’ll realize that the most important thing you’ve gained isn’t just accuracy—it’s the peace of mind that comes with knowing you can do it right, every single time.
Frequently Asked Questions
How do I know if a scale is actually accurate or just some cheap piece of plastic that'll drift after a month?
Look, don’t trust the flashy LED screens on those $10 drugstore models. To test a scale, grab something you know the weight of—like a nickel, which is exactly 5 grams—and see if it holds steady. A real tool shouldn’t “drift” or jump around when you set it down. You want a unit with a glass or stainless steel platform and a solid internal sensor that returns to zero every single time.
Can I use these scales for heavy stuff like cast iron pans, or are they only meant for light baking ingredients?
Look, I’ve spent plenty of time restoring heavy cast iron, so I get the impulse. But here’s the reality: most digital scales are precision instruments designed for grams and ounces, not heavy lifting. If you try to weigh a seasoned skillet on a scale meant for flour, you’ll likely snap the sensor or fry the electronics. Check the weight capacity first. If it’s not rated for heavy loads, stick to the light stuff.
Is it worth getting a scale with a built-in timer, or am I just paying extra for a gadget I won't use?
Honestly? Save your money. I’ve seen countless “all-in-one” gadgets gather dust in kitchen drawers because they try to do too much and do it poorly. A scale’s job is to be precise and easy to clean; a timer’s job is to keep you on schedule. You don’t need them to live in the same plastic housing. Buy a high-quality, standalone digital timer instead. It’ll be more reliable and won’t clutter your workflow.
