I still remember the chaos of a Saturday night service in a commercial kitchen, the air thick with steam and the frantic rhythm of orders flying in. I was hovering over a massive pot of simmering stock, trying to keep the liquid crystal clear, when my cheap, lightweight skimmer spoon actually snapped right in the middle of the rush. It was a flimsy piece of stamped metal that felt more like a toy than a tool. That moment taught me a hard lesson: if you’re going to invest in a skimmer spoon, it needs to have enough weight to feel substantial and enough strength to handle the heat without bending like a piece of tin foil.
I’m not here to sell you on some high-tech, silicone-coated gadget that’s going to end up in a landfill by next Christmas. My goal is to cut through the marketing noise and help you find the workhorse tools that actually earn their place in your drawer. I’m going to show you exactly what to look for in terms of mesh density and handle durability so you can stop fighting your equipment and start focusing on your food.
Table of Contents
Mastering Cooking Foam Removal for Crystal Clear Results

Mastering Cooking Foam Removal for Crystal Clear Results
If you’ve ever sat staring at a pot of stock only to find it clouded with gray, unappetizing bubbles, you know exactly how frustrating it is. That foam isn’t just unsightly; it’s a collection of proteins and impurities that can turn a bright, clean broth into something muddy and bitter. When I was managing commercial kitchens, we didn’t just ignore it. We treated cooking foam removal as a non-negotiable step in the process. You can’t just stir it back in. You have to physically lift those impurities out of the liquid while they are still floating on the surface.
The trick is patience and using the right tool. I always reach for a high-quality stainless steel skimmer because it provides the surface area you need to sweep up the debris without disturbing the liquid underneath. Avoid using a standard slotted spoon if you can; they’re often too small and clunky for delicate work. Instead, use a wide, shallow tool that lets the liquid flow through quickly while catching the solids. If you master this one simple habit, your homemade soups will look—and taste—like they came from a professional kitchen.
The Art of Removing Impurities From Soup With Ease
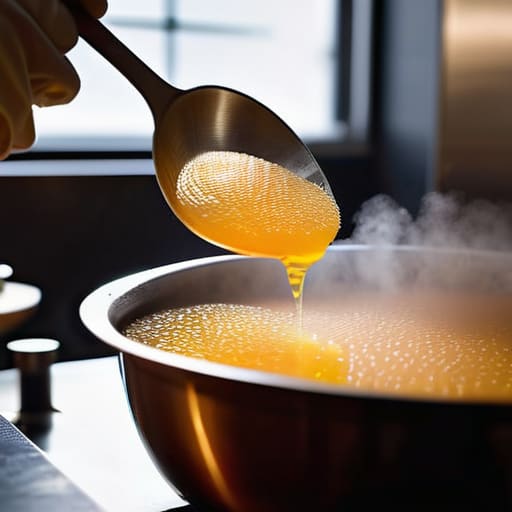
When I was managing commercial kitchens, I saw too many cooks try to rush through a stock by just letting the sediment settle and hoping for the best. That’s a mistake. If you want a truly professional-grade result, you have to be proactive about removing impurities from soup while it’s still simmering. It isn’t just about aesthetics; those little bits of protein and fat that float to the top can turn a clean, bright broth into something cloudy and bitter if you let them sit.
The trick is to work in stages. I always recommend using a high-quality stainless steel skimmer rather than trying to ladle out the foam with a standard spoon. A ladle is too bulky and often pulls up the liquid you’re trying to save, whereas a skimmer allows the liquid to pass right through the holes while catching the debris. It requires a bit of patience and a steady hand, but once you master these kitchen skimming techniques, you’ll notice the difference in your final dish immediately. Your sauces will be silkier, and your consommés will actually look like they belong in a high-end restaurant.
Five Ways to Stop Fumbling with Your Skimmer
- Ditch the flimsy plastic. If you’re skimming a hot stock or a heavy sauce, a cheap plastic skimmer will warp or even melt. Invest in a stainless steel version with a heavy-duty handle so you actually feel in control of the movement.
- Size matters more than you think. Don’t buy a tiny spoon for a massive stockpot; you’ll spend all day making micro-movements. Get a wide, flat surface area that can clear a large patch of foam in a single sweep.
- Mind the holes. I’ve seen some decorative skimmers with holes so small they clog with every bit of sediment they catch. Look for a mesh or perforated pattern that’s wide enough to let the liquid flow through instantly without getting stuck.
- Watch your technique. Don’t plunge the skimmer deep into the liquid; you’ll just stir the impurities back into the pot. Keep it light and skim the surface gently to lift the foam off without disturbing the clarity underneath.
- Clean it immediately. If you let dried protein or fat sit in those tiny perforations, you’ll be scrubbing for twenty minutes later. Rinse it under hot water the second you’re done so the residue doesn’t turn into cement.
The Bottom Line on Choosing a Skimmer
Stop buying those thin, flimsy plastic versions; you need a heavy-duty stainless steel skimmer with a solid handle that won’t warp when things get hot.
Look for a wide, shallow mesh pattern—it’s the only way to lift impurities without accidentally scooping up the actual ingredients you’re trying to cook.
Treat your skimmer like any other quality tool: keep it clean and avoid abrasive scrubbers that can damage the mesh, and it’ll serve you for decades.
The Truth About Your Tools
I’ve seen too many home cooks struggle with a cloudy broth because they’re using a flimsy, lightweight spoon that bends the moment it hits a hot pot; if you want a clear soup, you need a skimmer with enough weight and surface area to actually do the job without making you fight the liquid.
Rosalind Hayter
The Bottom Line on Skimmers
At the end of the day, a skimmer isn’t just another piece of metal cluttering your utensil drawer; it is the difference between a murky, unrefined broth and a professional-grade stock. We’ve talked about why you need to ditch the flimsy plastic options and why mastering the technique of removing impurities is vital for both clarity and flavor. Whether you are clarifying a delicate consommé or simply cleaning up the foam from a hearty stew, having a heavy-duty, well-balanced tool makes the job feel less like a chore and more like a standard part of your process. Don’t settle for tools that bend or break when you actually need them; invest in something that feels substantial in your hand and does the work for you.
My advice is simple: stop overcomplicating your kitchen setup with gadgets that promise the world but deliver nothing. A good skimmer is a testament to the idea that quality beats quantity every single time. When you buy tools that are built to last, you aren’t just organizing your kitchen; you are investing in your own culinary confidence. Focus on the fundamentals, keep your workspace efficient, and remember that the best meals often come from the simplest, most reliable methods. Now, go grab that skimmer and start making something worth tasting.
Frequently Asked Questions
Should I go with a stainless steel skimmer or is there a reason to choose something else?
Go with stainless steel. It’s the industry standard for a reason: it’s durable, won’t react with acidic stocks, and can handle high heat without warping. If you’re looking at silicone, it’s fine for gentle tasks, but it lacks the rigidity you need to lift heavy impurities. Avoid anything with a wooden handle if you want something that lasts; a solid stainless steel construction is easier to clean and won’t crack after a year of heavy use.
How do I pick the right size so I'm not constantly chasing foam around a large pot?
Look, if you’re using a tiny spoon for a massive stockpot, you’re just playing a losing game of whack-a-mole. You need a skimmer with a surface area that actually matches your vessel. For a standard Dutch oven or medium pot, aim for a skimmer about 4 to 5 inches wide. If you’re working with a large commercial-sized stockpot, don’t settle for anything less than 6 inches. You want to clear the surface in one sweep, not ten.
Are there specific types of delicate broths where a mesh skimmer is better than a perforated one?
If you’re working on something truly delicate, like a consommé or a light vegetable stock, go with the fine mesh skimmer. A perforated spoon is great for heavy-duty tasks, but those tiny holes can actually let small particles slip through, clouding your liquid. A fine mesh acts like a sieve, catching the smallest bits of sediment while letting the liquid pass. It takes a bit more patience, but for a crystal-clear broth, it’s worth the extra effort.
