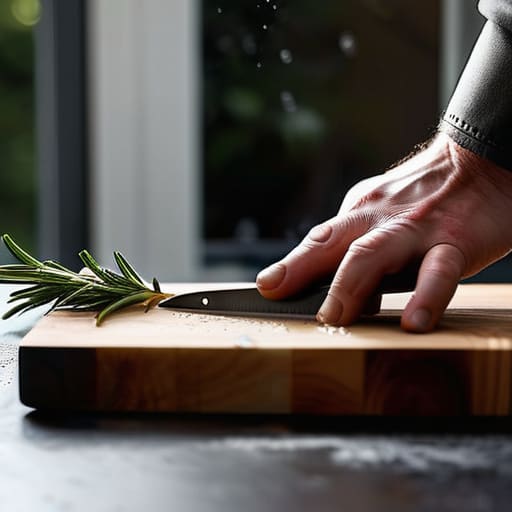
I remember standing in a high-pressure commercial kitchen during a Saturday night rush, watching a junior cook struggle to slice a single tomato. He was sawing back and forth like he was cutting through wet cardboard, sweating through his apron, all because he was using a blade that had been neglected for months. It wasn’t a lack of skill; it was a lack of respect for the steel. Most people think chef knife maintenance requires a degree in metallurgy or a thousand-dollar electric sharpener, but that’s just more marketing nonsense designed to separate you from your paycheck.
I’m not here to sell you on expensive gadgets or complicated rituals that eat up your prep time. My goal is to give you the straight talk on how to keep your tools sharp, safe, and ready to work. I’ll show you the few, essential habits that actually matter—the kind I learned from twenty years of heavy-duty catering—so you can stop fighting your equipment and start enjoying the process. We are going to focus on longevity over trends, ensuring your best knife stays your best knife for the rest of your life.
Table of Contents
Mastering Edge Retention Techniques for a Lifetime Blade
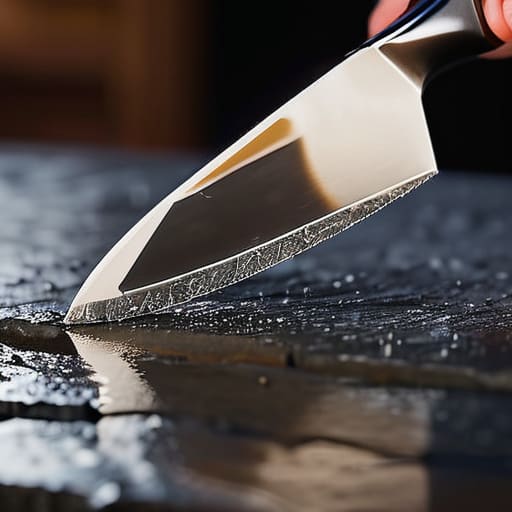
Most people think sharpening is just about making the metal pointy again, but if you want to actually stop fighting your food, you need to understand edge retention techniques that go beyond the quick swipe of a honing rod. A honing rod is great for realigning the edge after a heavy prep session, but it isn’t a substitute for true sharpening. To keep that edge biting through a tomato skin without slipping, you have to get comfortable with a whetstone. I always tell my clients to invest in a decent whetstone grit guide; start with a coarse stone to reset the bevel, and finish with a fine-grit stone to polish it to a mirror shine.
Once you’ve mastered the angle, the real work begins in how you treat the steel between uses. You can have the sharpest blade in the world, but if you toss it into a crowded utensil drawer, you’re just asking for a nicked edge. Invest in proper knife storage solutions, like a magnetic strip or a dedicated wooden block, to keep those blades isolated and protected. It’s about discipline—treating your tools with respect so they can work for you for the next thirty years.
A Whetstone Grit Guide for the Serious Cook
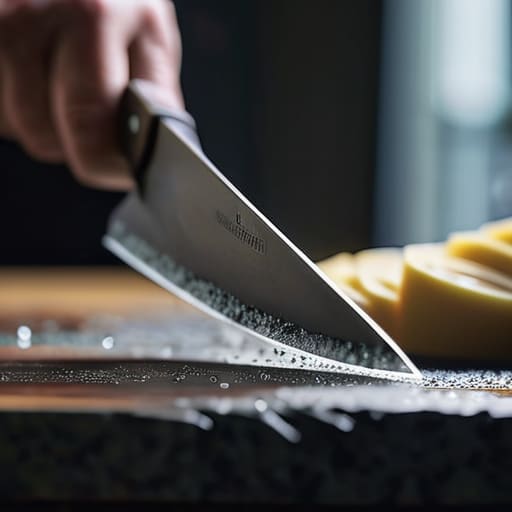
If you’ve decided to stop using those cheap pull-through sharpeners—and I really hope you have—you’re going to need to understand how to actually use a stone. Most people walk into a shop and see a dozen different stones and freeze up. Don’t let the marketing overwhelm you. A decent whetstone grit guide boils down to two main stages: the coarse stone for fixing a damaged edge and the fine stone for refining it. If your blade has a nick or you’ve been hacking away at bone, start low, around 400 grit. If you’re just maintaining knife sharpness during your weekly prep, you can jump straight to a 1000 grit or higher.
Don’t make the mistake of thinking more grit is always better. If you spend all your time on a high-grit polishing stone without ever doing the heavy lifting on a coarse one, you’re just polishing a dull edge. It’s like trying to wax a car that hasn’t been washed; it won’t do a lick of good. You need to build that edge properly from the ground up. Get the geometry right on the coarse stone, then let the fine stones do the delicate work of smoothing it out.
Five Rules for Not Ruining Your Best Blade
- Stop using your dishwasher. I don’t care what the box says; the heat and those harsh detergents will eat away at your steel and ruin your handle. Hand wash with warm water and a little soap, dry it immediately, and move on.
- Get a real honing rod, not a cheap serrated one. A steel rod isn’t for sharpening—it’s for realigning the edge every time you pull it out of the drawer. If you aren’t honing regularly, you’re working twice as hard for half the results.
- Respect the cutting board. If you’re hacking away at glass, marble, or even cheap plastic, you’re dulling your edge faster than you can sharpen it. Stick to wood or high-quality end-grain boards; they’re much kinder to your steel.
- Store them properly. Jamming your knives into a cluttered utensil drawer is a recipe for disaster. Every time your blade clangs against another tool, you’re chipping the edge. Use a magnetic strip or a dedicated knife block to keep them isolated and safe.
- Learn to feel the edge. Don’t wait until you’re struggling to slice a tomato to realize your knife is dull. If you notice you’re applying extra pressure just to get through a vegetable, it’s time to get back to the whetstone.
The Bottom Line on Keeping Your Edge
Stop treating your knives like disposable junk; a sharp blade is a safe blade, and regular honing is the only way to keep that edge from folding under pressure.
Invest your time in learning the whetstone rhythm rather than buying cheap, electric sharpeners that shave off more metal than they actually fix.
Respect the steel by storing it properly in a block or on a magnetic strip—never, ever toss your good knives into a crowded utensil drawer.
## The Cost of Neglect
“A dull knife isn’t just a nuisance; it’s a safety hazard and a waste of your time. If you treat your steel like an afterthought, don’t be surprised when it fails you right in the middle of a dinner rush.”
Rosalind Hayter
Stop Fighting Your Tools
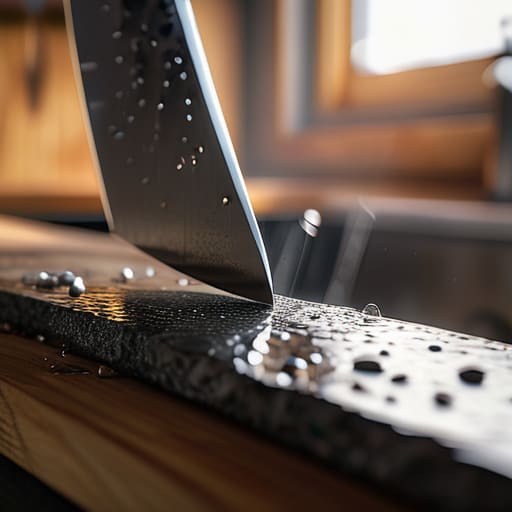
At the end of the day, maintaining a chef knife isn’t about some elaborate ritual or owning a dozen expensive gadgets you’ll never touch. It comes down to the fundamentals: choosing the right grit on your whetstone, respecting the edge, and actually taking five minutes to properly hone your blade instead of shoving it into a cluttered drawer. If you follow the techniques we’ve discussed, you aren’t just keeping a piece of steel sharp; you are preventing the frustration of a dull blade that slips, tears, and makes cooking feel like a chore. Invest the time now so you aren’t replacing a cheap, flimsy replacement in six months.
I’ve spent two decades in professional kitchens and years organizing homes, and if there is one thing I’ve learned, it’s that your tools should be an extension of your hands, not an obstacle in your way. A well-maintained knife is a lifelong companion that grows with you, becoming more reliable with every meal you prep. Don’t let your kitchen become a graveyard for trendy, disposable junk that fails when you need it most. Build the habit, respect the steel, and let your tools work for you. You’ll find that once the maintenance becomes second nature, the actual cooking becomes the best part of your day.
Frequently Asked Questions
How often do I actually need to use the whetstone versus just using a honing rod?
Think of it this way: the honing rod is your daily maintenance, while the whetstone is the actual repair. I use my honing rod every single time I prep—it realigns the edge so it stays straight. But the stone? That’s for when the edge is actually dull or nicked. Don’t go at it with the stone every day; you’ll grind away good steel. Use the rod daily, and save the stones for a deep tune-up every few months.
Is it really worth investing in a professional sharpening service, or can I handle it all myself?
Look, if you’ve spent time with a whetstone, you know the drill. If you have the patience and the steady hand, you can certainly handle it yourself. It’s a meditative process once you get the rhythm down. But let’s be honest: if you’re working with a high-end Japanese steel or a particularly tricky geometry, don’t be a hero. Take it to a professional once a year to reset the edge. It’s cheaper than replacing a ruined blade.
What's the best way to clean my knives without accidentally ruining the edge or the handle?
Stop throwing your knives in the dishwasher. I’m serious. That high-heat cycle and those aggressive detergents are a death sentence for your steel and will eventually crack your handles. Hand-wash them immediately after use with warm water and a mild soap. Dry them right away with a clean towel—never let them air dry, or you’re asking for rust spots. It takes thirty seconds, but it’s the difference between a tool that lasts decades and one you’ll toss in a year.
