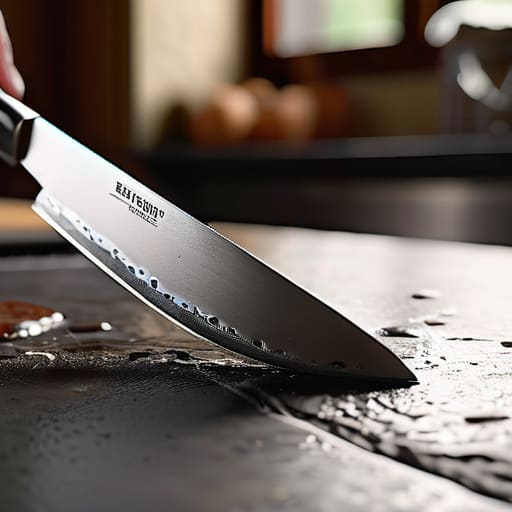
I remember standing in a commercial kitchen ten years ago, watching a line cook struggle to slice through a ripe tomato, hacking away like he was trying to chop firewood. He was sweating, frustrated, and about to ruin a perfectly good piece of produce because his blade was duller than a butter knife. Most people think you need a hundred-dollar electric gadget or a degree in metallurgy to fix that, but that’s just a lie sold to you by people wanting to clutter your drawers. The truth is, a sharp knife isn’t a luxury; it’s a basic requirement for safety and sanity. If you’ve been searching for a real knives sharpening guide that actually makes sense, you’ve finally come to the right place.
I’m not here to sell you on fancy, motorized nonsense that eats away at your steel. Instead, I’m going to show you how to respect your tools using simple, proven methods that I’ve used in professional kitchens and my own home for decades. We’re going to skip the hype and focus on the essential techniques that will keep your blades biting deep and lasting a lifetime. By the time we’re done, you’ll stop fighting your ingredients and start actually enjoying the rhythm of your prep work.
Table of Contents
- Step-by-Step Instructions
- Mastering the Angle of Sharpening for a Lifetime Edge
- Understanding Grit Levels for Whetstones and Professional Maintenance
- Five Rules for Keeping Your Blades Sharp (And Your Sanity Intact)
- The Bottom Line: Invest in Skill, Not Just Steel
- ## Respect the Steel
- Respect the Blade, Master the Kitchen
- Frequently Asked Questions
Guide Overview
Tools & Supplies
- Whetstone (Double-sided grit stone)
- Honing rod (Steel rod for maintaining edge)
- Water or honing oil (For lubricating stone)
- Microfiber cloth (For cleaning blade)
Step-by-Step Instructions
- 1. First, you need to gather your gear. Don’t go running out to buy a fancy electric sharpener; those things are usually just grinding away your expensive steel until there’s nothing left. You want a decent whetstone—ideally a combination stone with a coarse grit for fixing chips and a fine grit for polishing—and a steady surface to work on. Wrap a damp towel around the base of your stone to keep it from sliding around while you work; a moving stone is a recipe for disaster.
- 2. Once your stone is ready, soak it. If you’re using a water stone, submerge it in a shallow bowl of water until the air bubbles stop rising. I’ve seen too many people try to sharpen on a dry stone, which is a complete waste of effort. You want that surface properly saturated so it provides the right kind of friction without overheating the metal.
- 3. Now, get into position. Hold the knife by the handle, keeping your fingers tucked in tight, and place the blade against the stone at a consistent angle. For most standard kitchen knives, you’re looking for about a 15 to 20-degree angle. A good trick I learned in commercial kitchens is to use the width of two quarters stacked on top of each other as a visual guide for that angle. Consistency is everything here; if your angle wobbles, you’re just creating a jagged edge.
- 4. Start with the coarse side of the stone. Using light, even pressure, push the blade across the stone in a sweeping motion, moving from the heel of the knife toward the tip. You aren’t trying to hack away at the metal; you’re looking to create a burr, which is a tiny, microscopic lip of steel that forms on the opposite side of the edge. Once you can feel that slight roughness when you run your thumb very carefully (and I mean very carefully) across the spine, you know you’ve done the work.
- 5. Flip the knife over and repeat the process on the other side. Use the same steady angle and sweeping motion to refine that edge. This is where you switch to the fine-grit side of your stone. This step isn’t about removing metal anymore; it’s about polishing the edge to a razor-sharp finish. Think of it as smoothing out the rough edges of your hard work to make the blade truly perform.
- 6. Before you even think about slicing a tomato, you need to clean the blade. Rinse the knife thoroughly under warm water to remove any tiny metal filings or stone grit that might be clinging to the steel. A dirty knife is a dangerous knife. Wipe it down with a clean, dry cloth and inspect the edge. It should look clean, uniform, and ready to work.
- 7. Finally, test the edge, but don’t be reckless. Instead of hacking at your finger, try slicing through a single sheet of paper or a piece of ripe tomato. If the knife glides through without tearing or snagging, you’ve mastered the edge. If it still feels dull, don’t get frustrated; just go back to the coarse side and start the process again with a bit more patience.
Mastering the Angle of Sharpening for a Lifetime Edge
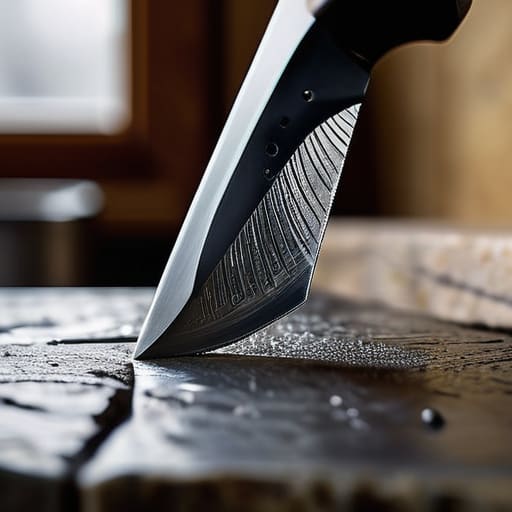
If you want a blade that actually holds its edge, you have to stop guessing. Most people I see struggling with dull knives are constantly changing their angle mid-stroke, which does nothing but ruin the metal. Whether you are working with a high-end Japanese steel or a reliable workhorse, finding that consistent angle of sharpening is the difference between a clean slice and a jagged tear. I always tell my clients to use a guide or even a simple piece of folded cardboard to keep their wrist steady. It’s about muscle memory; once you find that sweet spot—usually around 15 to 20 degrees—you have to commit to it.
It is also vital to understand the difference between honing steel vs sharpening. A honing rod isn’t there to remove metal; it’s just to realign the edge that has folded over during use. If you find yourself reaching for the stones every single time you prep a meal, you aren’t just honing—you’re rebuilding. To keep things efficient, I recommend starting with lower grit levels for whetstones to establish the edge, then finishing with a finer grit to polish it. Consistency is your best friend here.
Understanding Grit Levels for Whetstones and Professional Maintenance
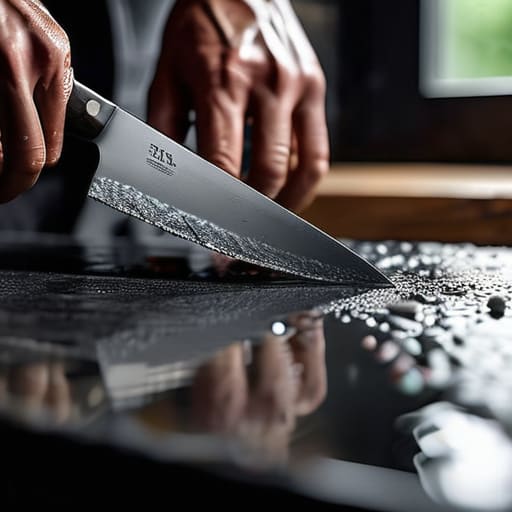
If you’re going to invest in whetstones, don’t let the numbers confuse you. Think of grit like sandpaper: a low number means a coarse, aggressive surface, while a high number is for fine polishing. When I was managing commercial kitchens, we didn’t have time for perfection on every single prep knife, but for your good home blades, you need a two-step approach. Start with a coarse stone (around 400 to 1000 grit) to actually reshape the metal if the edge is truly damaged. Once you’ve established that new bevel, move to a finer stone (3000 grit or higher) to smooth out the scratches and refine the edge to a razor finish.
It’s also important to understand the difference between honing steel vs sharpening. A honing rod isn’t a magic fix for a dull knife; it simply realigns the microscopic teeth of the blade that have folded over during use. If you find yourself constantly struggling to slice through a tomato, you’ve moved past the need for a quick hone and need to get back to the stones. Using the right grit levels for whetstones ensures you aren’t just moving the dullness around, but actually restoring the integrity of the steel.
Five Rules for Keeping Your Blades Sharp (And Your Sanity Intact)
- Stop using those electric pull-through sharpeners. I’ve seen enough ruined steel in commercial kitchens to know they’re basically tiny grinders that chew up your edge. If you care about your knives, stick to a whetstone or a high-quality honing rod.
- Respect the honing rod, but don’t mistake it for a sharpener. A rod realigns the edge that’s gone slightly crooked during use; it doesn’t actually remove metal to create a new edge. Use it frequently to extend the time between real sharpening sessions.
- Clean your tools immediately after use. Even a little bit of acidic juice from an onion or a tomato can cause microscopic pitting on a fresh edge if left to sit. A clean knife is a sharp knife, and a sharp knife is a safe knife.
- Get a wooden or high-quality composite cutting board. Glass, marble, or bamboo boards are absolute killers for an edge. They’re too hard, and every time your blade hits them, you’re essentially dulling the metal against a brick wall.
- Learn to test your edge without risking your fingers. Instead of hacking away at a tomato to see if it works, try the paper test. Hold a single sheet of printer paper vertically and see if the knife slices through it cleanly. If it snags, you’ve got work to do.
The Bottom Line: Invest in Skill, Not Just Steel
Stop looking for a magic gadget to do the work for you; a decent whetstone and a little patience will outperform any electric sharpener every single time.
Respect the angle you choose—consistency is more important than perfection, so pick an angle that works for your hand and stick to it.
Treat your knives like the professional tools they are by cleaning and drying them immediately, because a little bit of maintenance prevents a lot of expensive mistakes.
## Respect the Steel
A dull knife isn’t just a nuisance; it’s a safety hazard and a sign that you’ve stopped respecting your tools. You don’t need a drawer full of expensive gadgets to cook a great meal, but you do need an edge you can actually trust.
Rosalind Hayter
Respect the Blade, Master the Kitchen
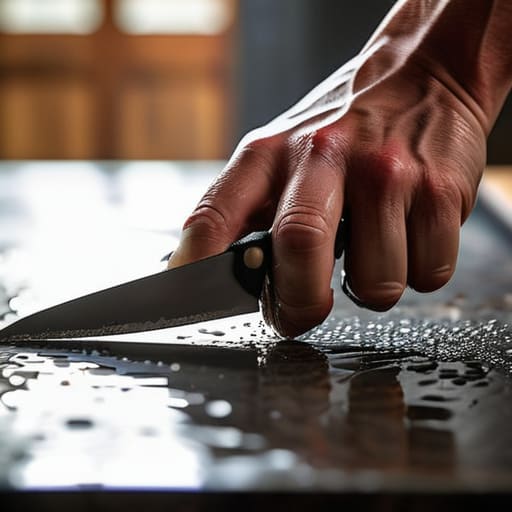
At the end of the day, sharpening your knives isn’t just a chore to check off a list; it’s about understanding the relationship between your hands and your tools. We’ve covered the essentials: finding that consistent angle, moving through the grit levels of your whetstone, and knowing when to stop before you do more harm than good. If you can master these fundamentals, you’ll stop struggling through prep work and start actually flowing with the rhythm of your cooking. Remember, it’s much better to spend ten minutes every few months maintaining a good edge than to spend an hour frustrated by a dull blade that’s making your prep work a dangerous mess.
I’ve seen too many people throw away perfectly good steel just because they didn’t have the patience to learn the proper maintenance. Don’t be one of them. A well-maintained knife is a lifelong companion that deserves your respect, and in return, it will make every meal you prepare feel more effortless and precise. Stop viewing your kitchen tools as disposable commodities and start seeing them as investments in your craft. Once you develop the habit of caring for your edges, you’ll find that you don’t just cook better—you actually enjoy the process a whole lot more.
Frequently Asked Questions
How often should I actually be sharpening my knives if I'm using them every day?
If you’re cooking every day, don’t wait until you’re hacking at a tomato like it’s a piece of wood. For a heavy-use kitchen, I recommend honing your blades with a steel every single time you use them to keep that edge aligned. As for actual sharpening on a stone? Aim for once every few months. It’s better to maintain a decent edge frequently than to let them get dull and struggle through a week of prep.
I've heard people talk about honing steels—is that the same thing as sharpening, or am I doing something wrong?
No, you aren’t doing anything wrong, but there is a massive difference. Think of sharpening like a complete overhaul—you’re actually removing metal to create a new edge. Honing is just maintenance; it’s using that steel rod to realign the microscopic teeth of the blade that get bent out of shape during use. Use the steel frequently to keep the edge straight, but don’t expect it to fix a dull knife.
Is it worth spending money on a professional sharpening service, or can I really handle this myself with a whetstone?
Look, if you’re willing to put in the time to learn the technique, you can absolutely handle it yourself. A good whetstone is a one-time investment that pays for itself. However, if you have a high-end Japanese blade or a set of expensive German steel that you’re terrified of ruining, take them to a professional once a year. Think of it like a seasonal tune-up: do the routine work at home, but leave the heavy lifting to the experts.
