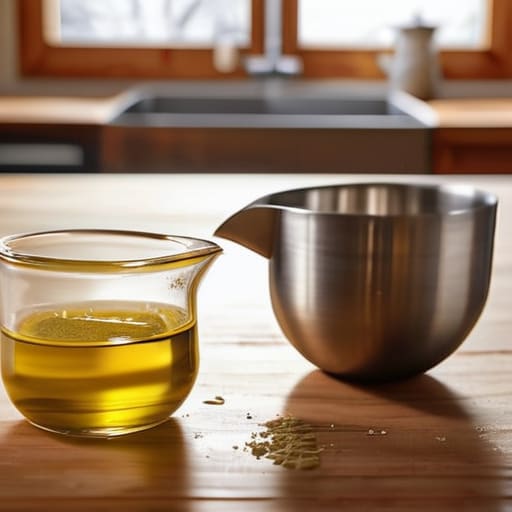
I still remember the chaos of a Friday night rush in my old catering days, standing in a humid commercial kitchen with a mountain of prep work ahead of me. I once watched a junior cook struggle with a set of those cheap, thin plastic measuring cups that were so warped they couldn’t even hold a level line of flour. He was trying to follow a recipe to the letter, but because his tools were fundamentally broken, the entire batch of batter came out thin and soupy. It was a total waste of ingredients and, more importantly, a waste of time.
I’m not here to sell you on some high-tech, digital gadget that promises “precision” but will likely end up in a landfill by next Christmas. Instead, I’m going to show you how to select a few reliable, heavy-duty tools that actually do their job. We are going to focus on materials that won’t stain from turmeric or melt in the dishwasher, ensuring your measuring cups are an investment in your kitchen, not just more clutter.
Table of Contents
The Lasting Value of Stainless Steel Measuring Sets
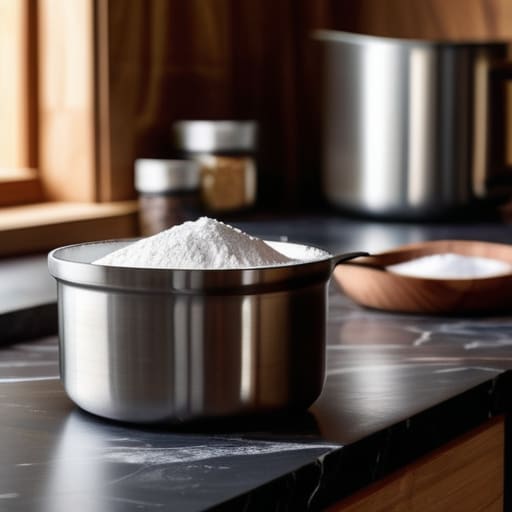
I’ve seen too many home cooks get frustrated because their measurements are off, only to realize their cheap plastic cups have warped from the heat of a dishwasher or a heavy scoop. If you want real volume measurement accuracy, you need to move away from those flimsy, colorful sets. I always tell my clients to invest in stainless steel measuring sets because they are virtually indestructible. They don’t stain from turmeric, they don’t crack, and they won’t bend when you’re leveling off a cup of flour.
When you’re working with professional-grade tools, you’re buying for the long haul. A heavy-duty steel set maintains its shape, which is essential for those high-stakes moments where baking precision tools make or break a recipe. Unlike plastic, which can hold onto odors or degrade over time, steel stays clean and consistent. It’s a small upfront investment, but it’s the difference between replacing a set every two years or owning a single set that you’ll eventually pass down to your kids. Stop settling for disposable kitchenware and start building a kit that actually performs.
Mastering Volume Measurement Accuracy for Reliable Results
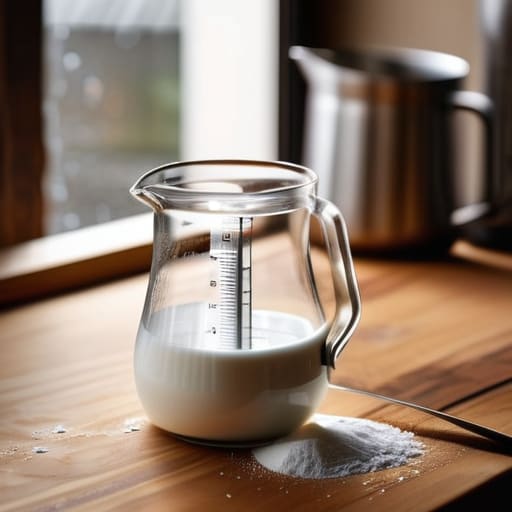
If you want your recipes to turn out the same way every single time, you have to understand the difference between dry vs liquid measuring cups. I see this mistake constantly in home kitchens: someone tries to level off a cup of flour in a glass pitcher meant for water, or they try to pour milk into a nested metal cup. It’s a recipe for disaster. For dry goods like flour or cocoa powder, you need a flat rim and a straight side so you can sweep the excess off with a knife. If you don’t, you’re just guessing, and in baking, guessing is the fastest way to ruin a batch.
When it comes to baking precision tools, the stakes are even higher. Even a slight deviation in how you pack a cup of sugar can throw off the chemistry of your dough. I always tell my clients to master the art of the “spoon and level” method for dry ingredients to ensure true volume measurement accuracy. Once you stop eyeballing it and start using the right vessel for the specific ingredient, you’ll notice your results become much more consistent.
Five Rules for Measuring Like a Pro
- Ditch the “scoop and sweep” method for dry ingredients like flour. If you pack flour directly into a cup, you’re going to end up with a heavy, gummy mess. Instead, use a spoon to fluff the flour into the cup and level it off with a flat edge.
- Stop using your liquid measuring pitcher to measure dry goods. It’s a recipe for spills and inaccurate levels. Keep your heavy glass pitchers strictly for milk, water, and oils, and use dedicated dry cups for everything else.
- Check your measurements at eye level. I see people bending over or tilting the pitcher to see if the liquid hits the line, and they’re almost always wrong. Set the cup on a flat, level countertop and bring your eyes down to the mark.
- Don’t trust those cheap, colorful plastic sets that come in bulk packs. They warp in the dishwasher and lose their shape, meaning your “one cup” is no longer actually one cup. Stick to heavy-duty materials that won’t budge.
- Organize your measuring tools by frequency of use. I always keep my most common sizes—the 1/4, 1/2, and 1 cup—in a small, accessible crock or drawer organizer. If you have to dig through a cluttered junk drawer every time you bake, you’ll eventually stop doing it.
My Golden Rules for Choosing Measuring Cups
Ditch the plastic sets that warp and stain; if you want tools that actually hold their shape and survive a lifetime of use, stick to heavy-duty stainless steel.
Accuracy is everything in a functional kitchen, so prioritize sets with clear, etched markings that won’t rub off the first time they hit the sink.
Don’t get distracted by fancy, single-use gadgets; a simple, cohesive set of nesting cups is all you need to keep your workspace organized and your recipes consistent.
The Real Cost of Cheap Tools
“I’ve seen enough warped, flimsy plastic sets end up in the landfill to know that ‘affordable’ is a lie if you have to replace it every year. If you’re going to measure your ingredients, do it with something heavy enough to feel substantial in your hand—because precision matters, and so does buying things once.”
Rosalind Hayter
Choosing Tools That Work
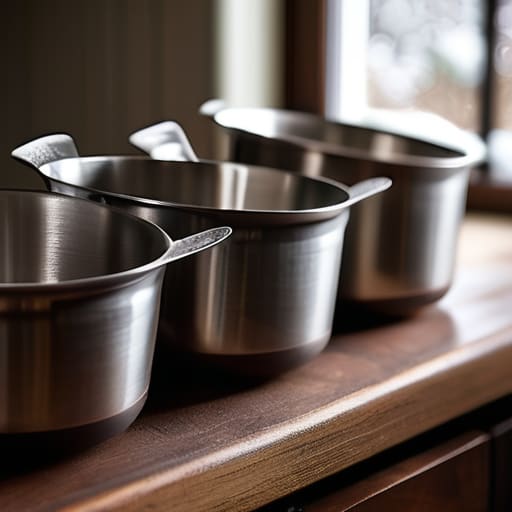
At the end of the day, choosing the right measuring cups isn’t about having the most expensive set in the drawer; it’s about investing in reliability and precision. We’ve covered why you should ditch those flimsy, warped plastic sets in favor of heavy-duty stainless steel and why mastering your volume measurements is the secret to consistent results. When you stop fighting with tools that bend or stain, you stop fighting your recipes. A kitchen that functions properly is built on these small, foundational decisions—the kind where you choose longevity over convenience every single time.
I’ve spent decades in commercial kitchens and home spaces alike, and if there is one thing I’ve learned, it’s that your tools should serve your talent, not hinder it. Don’t let a poorly made measuring cup ruin a batch of bread or a delicate sauce. Build your kitchen with intention, buy things that can withstand a lifetime of use, and focus on the habits that make cooking a joy rather than a chore. Once you have the right equipment, the rest is up to you. Now, get in there and start cooking something worth making.
Frequently Asked Questions
Should I prioritize nesting sets to save drawer space, or is it better to have individual cups for easier cleaning?
Look, I’ve seen both sides of this in commercial kitchens and tiny apartments. If you’re working in a cramped space, nesting sets are a lifesaver for drawer management. However, don’t sacrifice quality for convenience. I prefer a high-quality nesting set in stainless steel; they stack tightly but are heavy enough to feel substantial. Just make sure they aren’t so cheap that they bend when you’re trying to level off flour. Space matters, but so does durability.
Is there a real difference in accuracy between liquid measuring pitchers and dry measuring cups when I'm halfway through a recipe?
Yes, there’s a massive difference, and using the wrong one is a fast track to a ruined recipe. Dry cups are designed to be leveled off for precision; if you try to pour liquid into them, you’ll inevitably spill or under-measure. Liquid pitchers have that extra headspace to prevent messes. If you’re halfway through and reach for a dry cup to measure oil or milk, you’re guessing, not measuring. Stick to the right tool for the job.
How do I know if a stainless steel set is actually high-quality or just cheap metal that's going to dent after a month?
Look for weight and rigidity. Pick up the set; if it feels light and flimsy, like a soda can, put it back. You want heavy-gauge stainless steel that doesn’t flex when you press your thumb against the side. Check the rims, too—they should be smooth and rolled, not sharp or thin. If it feels like it might dent just by dropping a heavy scoop of flour into it, it’s not worth your money.
