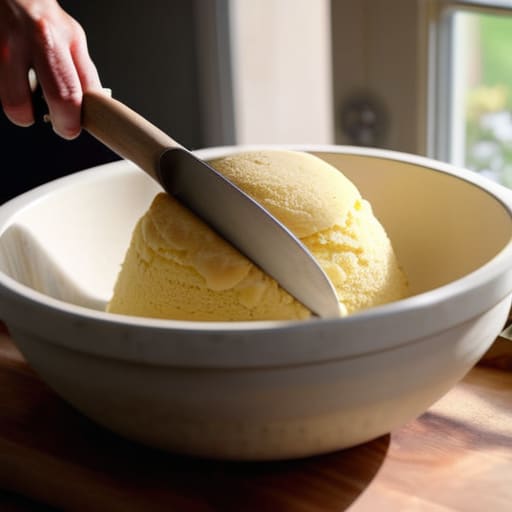
I spent two decades in commercial kitchens where the chaos is loud, the heat is relentless, and there is absolutely no room for fancy, useless gadgets. I’ve seen countless home cooks spend a fortune on high-speed electric mixers and specialized silicone tools, thinking they can buy their way into better results. But let me tell you something: all that expensive hardware won’t save a recipe if you don’t understand the fundamental mixing methods happening in the bowl. You can own every gadget on the market, but if you don’t know when to fold, when to cream, and when to leave the ingredients alone, you’re just wasting counter space.
I’m not here to sell you on a new piece of plastic or a complicated culinary trend that will be forgotten by next season. My goal is to strip away the fluff and teach you the actual mechanics of how ingredients behave when they meet motion. We are going to focus on the intentional movements that build texture and structure, using the basic tools you already own. By the time we’re done, you won’t need a manual or a machine to tell you if your batter is right; you’ll just know.
Table of Contents
The Art of Aeration in Baking
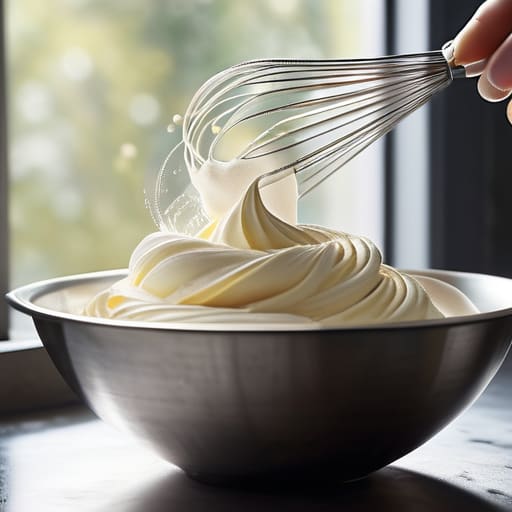
When people talk about a heavy, dense cake, they usually don’t realize it’s a failure of physics, not a lack of talent. Most of the time, the culprit is poor aeration in baking. In my years managing commercial kitchens, I saw plenty of beginners try to rush this step, but you can’t bully air into a batter. Whether you are using the creaming method explained in most classic recipes or whisking egg whites to stiff peaks, your goal is the same: creating tiny pockets of air that expand in the heat of the oven. If you skip this, you aren’t making a sponge; you’re making a brick.
I always tell my clients to pay attention to the difference between mechanical mixing vs hand mixing. A stand mixer is a powerhouse, but it can be a blunt instrument if you aren’t careful. If you overwork the batter once the flour hits the wet ingredients, you’ll trigger too much protein activity. You want to focus on preventing gluten development by folding your components gently. Use a spatula, keep your movements steady, and stop the moment the streaks of flour disappear. It’s about restraint, not speed.
Mechanical Mixing vs Hand Mixing Choosing Purpose Over Speed
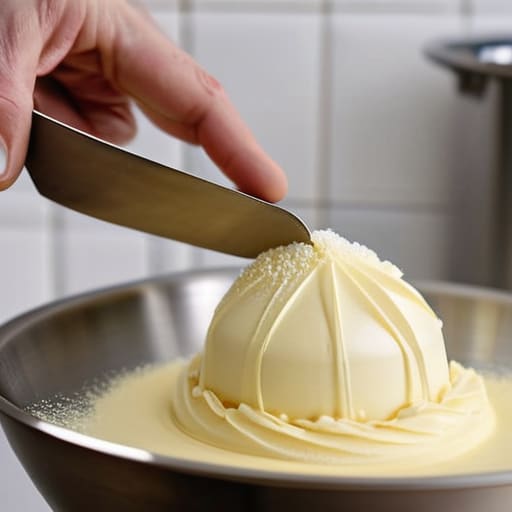
I’ve seen enough countertop clutter to know that a high-speed stand mixer isn’t a magic wand; it’s just a tool that requires a bit of discipline. When we talk about mechanical mixing vs hand mixing, the real debate isn’t about how fast you can finish a recipe, but about how much control you actually have over the texture. A machine is fantastic for the heavy lifting—like when you’re performing the creaming method explained in most professional pastry manuals to ensure sugar crystals cut tiny air pockets into butter. It’s efficient, sure, but it’s also blunt. If you leave a mixer running a minute too long, you’ve gone from a tender crumb to something tough and rubbery.
That’s where your hands come back into play. I always tell my clients that learning to feel the dough is non-negotiable. When you’re incorporating dry ingredients into a wet batter, a spatula and a gentle hand allow you to stop the exact second the flour disappears. This is your best defense for preventing gluten development, which is the difference between a delicate muffin and a dense, bread-like disaster. Use the power of the machine when you need volume, but trust your hands when you need precision.
Five rules to stop overworking your ingredients
- Learn the difference between folding and stirring; if you’re treating a delicate batter like a heavy stew, you’re going to end up with a dense, sad loaf of bread.
- Stop relying on the electric mixer for everything—sometimes your hands are the best tool for feeling exactly when the gluten has developed enough or when the cream is just about to turn to butter.
- Temperature is a mixing factor, too; if your butter is too cold, you’ll never get that creamy aeration you need for a proper sponge, and if it’s too warm, you’re just making a mess.
- Work in stages rather than dumping everything in at once; adding dry ingredients to wet in increments prevents clumps and keeps the texture consistent without needing to over-mix.
- Trust your eyes and the weight of the spoon more than a timer; every batch of flour behaves differently, and no recipe can account for the humidity in your kitchen today.
The Bottom Line for Your Kitchen
Stop buying expensive, single-use mixers for every recipe; learn when a whisk and some elbow grease will actually give you a better texture than a machine.
Understand that aeration isn’t just about bubbles—it’s about how you incorporate air into your ingredients to create structure, whether you’re folding or beating.
Prioritize technique over gadgets by mastering the fundamental movements, because a well-trained hand will always outperform a countertop appliance.
The Truth About Your Tools
A high-speed stand mixer is a fine piece of machinery, but it isn’t a substitute for knowing when to put it away; sometimes the best thing you can do for a recipe is to step back and use your own hands to feel the texture.
Rosalind Hayter
Beyond the Recipe
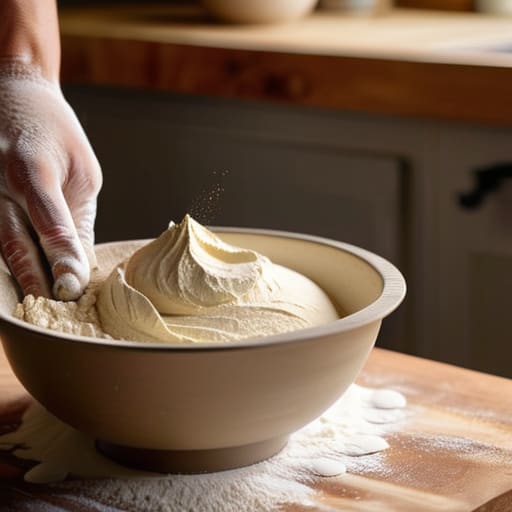
At the end of the day, mastering mixing methods isn’t about memorizing a list of instructions; it’s about understanding how air, fat, and flour interact under your hands. Whether you are deciding when to reach for the stand mixer to achieve that perfect aeration in a sponge cake or when to put your hands in the bowl to fold delicate ingredients without deflating them, the goal is always the same: intentionality. Stop treating your tools like magic buttons and start seeing them as extensions of your own technique. When you stop rushing and start paying attention to the texture and resistance of what you’re making, you move from being someone who just follows a recipe to someone who actually understands the craft.
Don’t let the fear of a heavy arm or a messy counter keep you from experimenting. Most of the “perfect” results you see in glossy magazines come from the same fundamental movements we’ve discussed here. My advice? Put down the expensive, specialized gadgets for a moment and just focus on the basics. Build your muscle memory, trust your senses, and remember that consistency is born from patience. A kitchen that works for you is one where you aren’t fighting your ingredients, but working in harmony with them. Now, grab your whisk, clear some space on the counter, and just start cooking.
Frequently Asked Questions
How do I know when I’ve over-mixed my batter and ruined the texture?
You’ll see it in the texture and feel it in the weight. If your batter suddenly looks heavy, loses its sheen, and starts looking more like glue than a light liquid, you’ve gone too far. In baking, over-mixing develops too much gluten; your finished product will end up tough, rubbery, or even cratered in the middle. Trust your eyes and your hands more than the timer. Stop the second the dry streaks disappear.
Is it actually worth investing in a heavy-duty stand mixer, or can I get by with a decent hand mixer for most things?
Look, if you’re just whisking eggs for an omelet or beating a little butter into sugar once a week, save your money. A decent hand mixer is plenty. But if you find yourself making bread, heavy batches of cookies, or thick meringues more than once a month, get the stand mixer. It’s about consistency and saving your wrists. Buy the heavy-duty one once, and you won’t be replacing a flimsy plastic motor in two years.
When exactly should I stop using a whisk and switch to a spatula to keep my ingredients from getting tough?
The moment you see the flour disappear and the ingredients come together into a cohesive mass, put the whisk down. If you keep whisking once the wet and dry are combined, you’ll overwork the gluten, and your cake or muffin will turn out tough and bread-like. Switch to a rubber spatula and use a gentle folding motion. It’s about being intentional—work just enough to incorporate, then stop.
