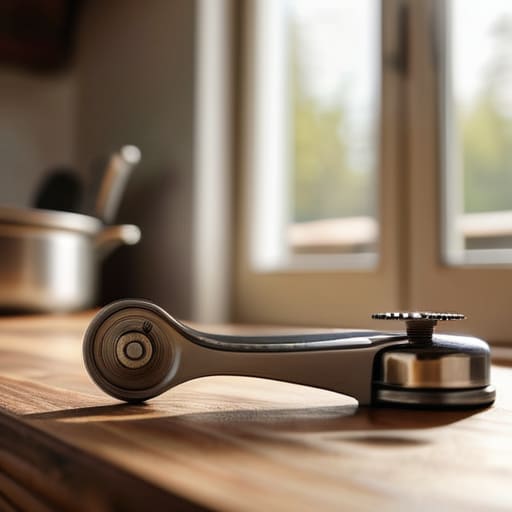
I still remember a frantic Saturday night during my catering days, standing in a dim commercial kitchen with a mountain of prep work ahead of me and a cheap, $5 gadget that just wouldn’t cooperate. There is nothing quite as infuriating as a tool that fails right when you’re in the weeds, leaving you to pick at jagged metal edges like you’re working with a dull knife. Most people think they just need a “better brand,” but they’re missing the point entirely. It isn’t about the name on the box; it’s about understanding the actual can opener mechanics that dictate whether a tool glides through a lid or leaves you fighting for your life against a stubborn tin.
I’m not here to sell you on some high-tech, motorized nonsense that will inevitably end up in a landfill in two years. Instead, I’m going to pull back the curtain on what actually makes a tool work. We are going to look at the leverage, the blade geometry, and the structural integrity you should demand from every piece of gear you buy. My goal is to help you build a kitchen filled with tools that last a lifetime, so you can stop fighting your equipment and get back to the actual joy of cooking.
Table of Contents
- The Lever Principle in Kitchen Tools You Can Trust
- Mastering the Rotary Cutting Action for Clean Results
- Five Ways to Tell if Your Can Opener is Worth the Counter Space
- The Bottom Line on Choosing Your Next Can Opener
- ## The Difference Between a Gadget and a Tool
- Stop Settling for Less
- Frequently Asked Questions
The Lever Principle in Kitchen Tools You Can Trust
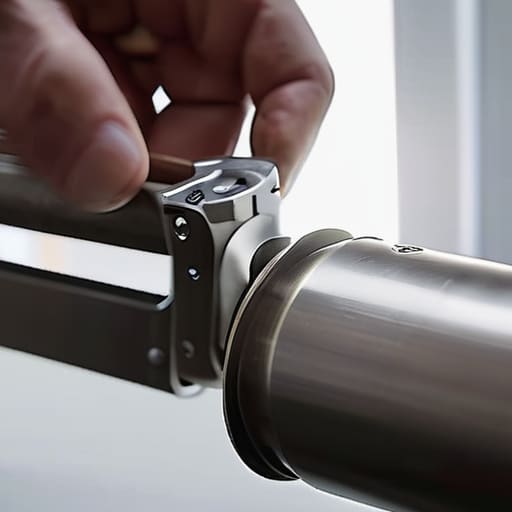
When I was managing banquet kitchens, I saw way too many cooks struggling with cheap, lightweight openers that required twice the effort for half the result. That’s because they lack a proper application of the lever principle in kitchen tools. A decent opener isn’t just a handle and a blade; it’s a machine designed to multiply your strength. When you use a tool with long, sturdy handles, you’re utilizing mechanical advantage to do the heavy lifting for you. You shouldn’t have to white-knuckle a gadget just to get through a standard tin of tomatoes.
I always look for a model that features a smooth rotary cutting action rather than one that requires you to “crush” the lid. The best ones use a high-quality cutting wheel mechanism that glides through the metal with minimal resistance. If you feel like you’re fighting the tool, the physics are working against you. I tell my clients to skip the plastic-handled junk and invest in something with enough weight and leverage to make the job feel effortless. Good tools should feel like an extension of your hand, not an obstacle in your way.
Mastering the Rotary Cutting Action for Clean Results

It isn’t just about the strength you apply; it’s about how that force is translated through the cutting wheel mechanism. When I was managing commercial kitchens, I saw too many cooks struggle with cheap, stamped-metal openers that just tore at the lid, leaving jagged edges that were a nightmare for safety. A proper tool uses a precise rotary cutting action to slice through the tin rather than crushing it. You want a wheel that stays sharp and tracks a smooth, predictable path around the rim.
The secret to that effortless glide is often found in the gear ratio in manual openers. A well-engineered tool ensures that even a small turn of the handle provides enough torque to drive the blade through the metal without you having to white-knuckle the grip. If you feel like you’re fighting the can, the mechanics are failing you. I always tell my organizing clients: if the rotation feels clunky or uneven, it’s time to toss it. Invest in something that treats the metal with respect, and you’ll save your wrists and your sanity.
Five Ways to Tell if Your Can Opener is Worth the Counter Space
- Look for high-carbon steel gears. If the teeth look like they’re made of soft tin, they’ll dull after a dozen cans, and you’ll be left fighting a piece of metal that refuses to bite.
- Prioritize a smooth-edge cut. A quality mechanical design cuts through the lid rather than tearing it; if you’re getting jagged metal shards falling into your soup, your opener’s alignment is garbage.
- Check the handle leverage. Give the handles a test squeeze—they should feel sturdy and offer resistance without needing a massive amount of hand strength to engage the gears.
- Avoid the battery-operated nonsense. Unless you’re running a commercial line with a hundred cans an hour, a manual, gear-driven opener is more reliable, easier to clean, and won’t die on you mid-recipe.
- Inspect the pivot point. A well-engineered tool has a tight, stable pivot where the arms meet; if there’s too much “wiggle” in the mechanism, you’re going to lose precision and end up with messy edges.
The Bottom Line on Choosing Your Next Can Opener
Forget the cheap, lightweight models that bend under pressure; look for weight and mechanical leverage in your hand to ensure the tool does the work, not your wrists.
Prioritize smooth rotary action over sheer force, as a sharp, well-aligned cutting wheel prevents the jagged, messy edges that lead to wasted food and potential injury.
Invest in all-metal construction and avoid plastic-heavy designs, because a kitchen tool is only as good as its ability to survive a decade of heavy use.
## The Difference Between a Gadget and a Tool
“If you’re struggling to get through a simple tin of tomatoes, it isn’t your strength failing you—it’s the physics of a poorly designed tool. A real can opener shouldn’t feel like a toy; it should use leverage to do the heavy lifting so your hands don’t have to.”
Rosalind Hayter
Stop Settling for Less
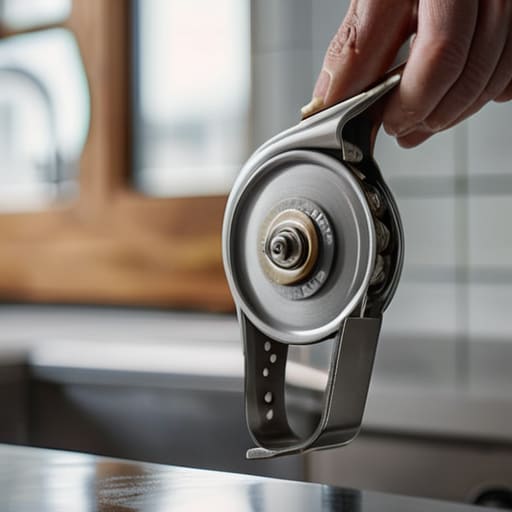
At the end of the day, understanding the mechanics of a can opener isn’t just about trivia; it’s about recognizing the difference between a tool and a toy. We’ve looked at how the lever principle provides the necessary force to puncture metal without straining your wrists, and how a sharp, rotary cutting action prevents that messy, jagged edge that ruins a good meal. When you prioritize a heavy-duty design over a cheap, lightweight imitation, you aren’t just buying a gadget—you are investing in mechanical reliability. You shouldn’t have to fight your equipment just to get to the ingredients you need for dinner.
My advice is simple: stop cluttering your drawers with plastic junk that breaks the moment things get difficult. Instead, find that one solid, all-metal piece that feels substantial in your hand and treat it like the essential tool it is. A well-made kitchen is built on the foundation of quality over quantity, and that starts with the basics. Buy things that are meant to last, maintain them well, and let them do their job so you can get back to what actually matters: the cooking itself.
Frequently Asked Questions
How can I tell if a can opener is made of high-quality steel or if it's just cheap, plated junk that'll rust in a month?
Don’t just look at the shine; look at the weight. If it feels light and hollow in your hand, it’s likely cheap stamped tin with a thin coating that’ll flake off by next month. Pick up a heavy, solid-feeling model. Check the gears—they should be thick, stainless steel, not flimsy plastic. If the “metal” feels like it might bend under a little pressure, put it back. You want something that feels like a tool, not a toy.
Is there a real difference in performance between a traditional edge-cutting opener and those newer smooth-edge models?
Look, there’s a massive difference, and it comes down to how much frustration you’re willing to tolerate. Those smooth-edge models are great for safety because they don’t leave jagged metal on the lid, but they often struggle with thicker tin. Traditional edge-cutters are the workhorses; they slice through the lid like a hot knife through butter. If you want speed and reliability, stick to the traditional ones—just watch your fingers.
What are the signs that the internal gears are starting to fail before I end up struggling with a stuck lid?
Listen for a change in the sound. If that smooth, rhythmic whir starts sounding like grinding sand or a heavy, uneven clicking, your gears are stripping. You’ll also notice the resistance; if you find yourself having to force the handle or if it feels “spongy” rather than firm, the teeth aren’t meshing right. Don’t wait until you’re mid-prep with a stuck lid. Once that mechanical feedback changes, it’s time to retire it.
